Alto-Shaam 600-LVD/PT Kurulum Operasyon ve Bakım - Sayfa 14
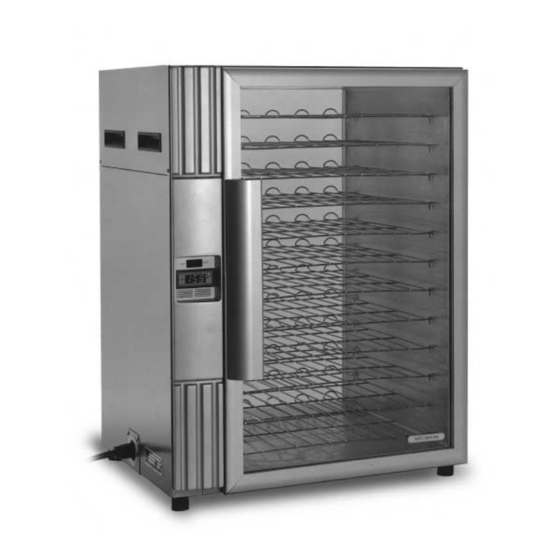
Fırın Alto-Shaam 600-LVD/PT için çevrimiçi göz atın veya pdf Kurulum Operasyon ve Bakım indirin. Alto-Shaam 600-LVD/PT 20 sayfaları. Hot food display cabinet, electric
This chart is provided for the assistance of qualified technicians only and is not intended for use by untrained or
unauthorized service personnel. If your unit is not operating properly, check the following before calling your
authorized service agent. Check the power applied to the unit. Plug in outlet? Fuse OK?
Do not attempt to repair or service beyond this point. Contact manufacturer for nearest authorized service agent.
Repairs made by any other service agent without prior authorization by manufacturer will void the warranty on the unit.
Error Code
1. Control displays "OOO" or "PFO".
INCREASE/DECREASE
HEAT
ROCKER BUTTON
L.E.D.1
INDICATOR L.E.D.
ooo
prg
SET
!
ERROR CODE
ERROR
TEMPERATURE
INDICATOR L.E.D.
CODE
SET
DISPLAY
BUTTON
2. Control displays "CCC" or "PFC".
INCREASE/DECREASE
HEAT
ROCKER BUTTON
L.E.D.1
INDICATOR L.E.D.
CCC
prg
SET
!
ROCKER SWITCH
ERROR CODE
ERROR
TEMPERATURE
CODE
SET
INDICATOR L.E.D.
DISPLAY
BUTTON
3. Unit does not operate.
4. No display in electronic control.
5. Cannot control temperature but sensor
and electronic control check OK.
6. Temperature readout incorrect.
Tr o u b l e S h o o t i n g G u i d e
Possible Cause
A. Sensor is open circuited.
B.
Associated wiring is open circuited.
POWER
ON/OFF
ROCKER SWITCH
C. Control is faulty.
A.
Sensor is short circuited.
B.
Associated wiring is short circuited.
POWER
ON/OFF
C. Control is faulty.
A.
Insufficient power supply.
B.
Defective power cord or plug.
A.
Faulty power supply board.
B.
Faulty electronic control.
A.
Faulty relay.
B.
Heating element sensor.
A.
Dirty or faulty sensor.
B.
Faulty control.
THIS SECTION IS PROVIDED FOR THE
ASSISTANCE OF QUALIFED SERVICE
TECHNICIANS ONLY AND IS NOT
INTENDED FOR USE BY UNTRAINED OR
UNAUTHORIZED SERVICE PERSONNEL.
# 8 2 4 O p e r a t i o n a n d C a r e M a n u a l • 13.
S E R V I C E
SENSOR
EXT. WIRES
T-BLOCK
CONNECTORS
SENSOR
EXT. WIRES
T-BLOCK
CONNECTORS
Action Required
Detach the sensor from the terminal block.
Use an Ohm meter to measure the resistance
of the sensor. Check sensor at 32°F (0°C)
using a container of ice water. If Ohm read-
ing is 100, replace display. If Ohm reading
is not 100, replace sensor.
Check wires for integrity. Check for proper
and secure connections at the thermostat and
terminal block. If necessary, re-secure the
faulty connections.
Energize system after the above steps have
been completed. If control still reads "OOO
or PFO", contact factory.
Detach the sensor from the terminal block.
Use an Ohm meter to measure the resistance
of the sensor. Check sensor at 32°F (0°C)
using a container of ice water. If Ohm read-
ing is 100, replace display. If Ohm reading
is not 100, replace sensor.
Check wires for integrity. Check for proper
and secure connections at the thermostat and
terminal block. If necessary, re-secure the
faulty connections.
Energize system after the above steps have
been completed. If control still reads "CCC
or PFC", contact factory.
Check power source.
Check and replace if necessary.
Check line voltage for 24V across pins 6 and
7 on the power supply board.
Replace control.
Replace relay.
Replace element.
Detach the sensor from the terminal block.
Use an Ohm meter to measure the resistance
of the sensor. Check sensor at 32°F (0°C)
using a container of ice water. If Ohm read-
ing is 100, replace display. If Ohm reading
is not 100, replace sensor.