ClearCube A6108 Hızlı Başlangıç Kılavuzu - Sayfa 6
Sunucu ClearCube A6108 için çevrimiçi göz atın veya pdf Hızlı Başlangıç Kılavuzu indirin. ClearCube A6108 15 sayfaları.
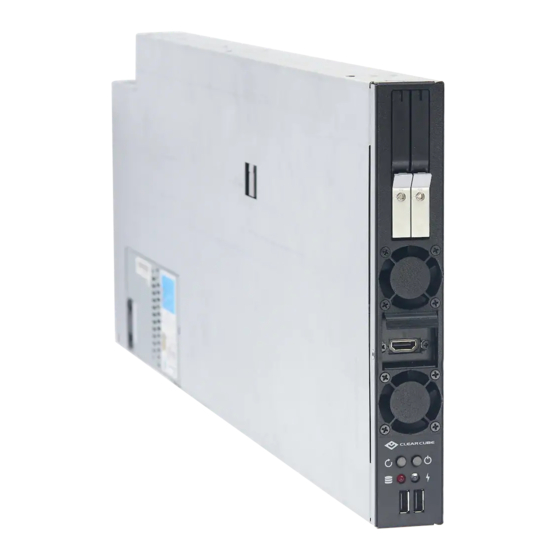
Installation in A3100 chassis
Inserting and
removing
ClearCube Technology, Inc.
The A3100 chassis (shown in
and dedicated PCoIP), and a USB port for all blades in a chassis.
The table below shows how to install and remove an A6108 blade from an A3100 chassis.
1
Open the chassis front bezel by pressing in on the latch on the upper-right side of the
chassis.
NOTE: When pressing the latch to open the front bezel, hold the bezel with one hand to ensure that
the bezel does not fall.
2
From the top, pull the bezel toward you and lift up to remove it.
3
Hold the blade so the D-shaped handle in the front of the blade is upright and is facing you.
Align the blade with the top and bottom guides in the chassis and slowly insert the blade.
Result: When fully seated, the blade is flush with the front edge of the bottom guide bracket.
NOTE: There is slight resistance when blade connectors are inserted into backplane connectors.
4
Replace the bezel after inserting your blades.
5
Optionally, press the power button on the front panel to power on the blade.
6
To remove a blade after powering down, pull gently on the finger pull handle until the
blade slides out of the chassis.
NOTE: Support both ends of the blade when you remove it completely from the chassis. Remember
to replace the chassis front bezel.
1505 Volta Dr. Suite 100
Figure
2, above) provides redundant power, network ports (Ethernet
Step
Action
Page
6
of
15
Cedar Park , TX 78641
Continued on next page
P/N <TBD> Rev A, 1.0.10.9.2020
(512) 652-3500
www.clearcube.com