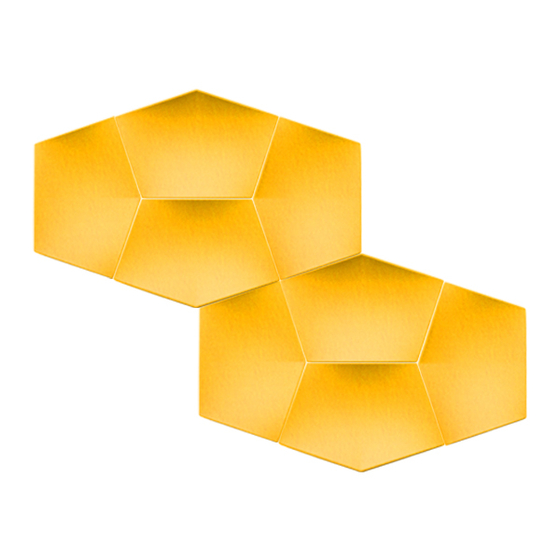
3form Velo Ceiling Tiles Çözüm Belgesi - Sayfa 8
İç Mekan Mobilyaları 3form Velo Ceiling Tiles için çevrimiçi göz atın veya pdf Çözüm Belgesi indirin. 3form Velo Ceiling Tiles 11 sayfaları.

Velo Ceiling Tiles
Installation
4
Install Cables and Eye Bolt into Mounting Surface.
a
c
Thread the double ended gripper onto the cable.
This component will create the adjustable loop
that the Velo feature will hang from (the position
can be adjusted after hanging; but consider for
larger installations, leveling your inner sections
and moving outward).
The double ended gripper can be adjusted
by easily sliding in one direction and then by
compressing down the plunger and sliding the
gripper along the cable when moving it 'up' the
cable.
5
Attach Velo Tiles to the Cables with Looped Attachment Only
a
While supporting
the feature, as to
not place excess
strain on any
connected
joint, lift the
feature off the
ground and
thread the
cable through
the pre-drilled
holes.
For more information, please visit 3-form.com or call 800.726.0126
June 2020 | VeLO | ReV 009 © 2020 3form, Inc. All rights reserved.
tm
b
b
Thread the loose end of cable
back through the double
ended gripper. This loop
can be adjusted by
releasing the cable,
pushing the plunger
down or pulling on the
loose end of the cable
to tighten the loop. Make
sure the gripper doesn't
have any weight hanging
while making these adjustments.
Solution Document
8
