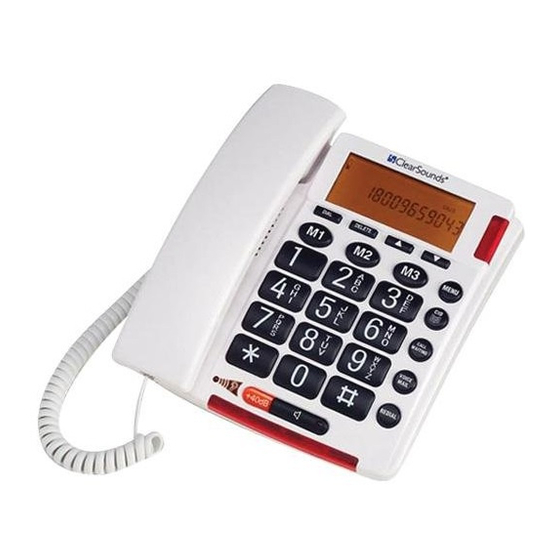
ClearSounds TALK500 ER Kullanıcı Kılavuzu - Sayfa 5
Telefon ClearSounds TALK500 ER için çevrimiçi göz atın veya pdf Kullanıcı Kılavuzu indirin. ClearSounds TALK500 ER 17 sayfaları. Talking telephone featuring ultraclear sound shaping technology
Ayrıca ClearSounds TALK500 ER için: Özellikler (1 sayfalar), Teknik Özellikler (1 sayfalar)

radio or television reception, which can be determined by turning the equipment
off and on, the user is encouraged to try to correct the interference by one or
more of the following measures:
•
Reorient or relocate the receiving antenna.
•
Increase the separation between the equipment and receiver.
•
Connect the equipment into an outlet on a circuit different from that to which
the receiver is connected.
•
Consult the dealer or an experienced radio TV technician for help.
Installing Batteries
Your telephone requires four AA batteries (not supplied) in case of network
power failure for LCD backup & operations. When
or the display dims, replace the batteries with 4 AA fresh ones. Note: Should
you choose not to install batteries - the telephone numbers in memory and the
voice recordings are stored in non-volatile flash memory and will not be lost.
1.
Before opening the battery compartment, make sure the telephone is
disconnected from the telephone line and the power supply.
2.
Use a flat-blade screwdriver to lift the battery compartment door.
3. Insert 4 AA batteries into the compartment as indicated by the polarity
symbols. Never mix battery types (different chemistries, brands and/or
fresh vs. used).
4. Snap the battery compartment door back into place.
Connecting The Telephone
1. Plug one end of the telephone line cord into the TEL.LINE jack at the back
of the telephone base.
2. Plug the other end of the telephone line cord into the wall outlet.
3. Plug one end of the coil cord into the handset's modular jack.
4. Plug the other end of the coil cord into the left side of the telephone base.
Connecting The Power Supply
Plug the AC adapter into the AC Power Jack on the back of your phone, then
into an electrical outlet or surge protector, if you are using one. For safety
reasons, use only the AC120V DC9V 200mA adapter provided. Note: The
adapter is required for the telephone to work correctly.
Hanging The Phone On The Wall
1. Mount using an existing wall plate adapter or drill two holes vertically, one
above the other, 83mm apart, and leave the screws protruding from the wall
by 5mm.
2. Press and lift out the handset holder. Remove the hanging peg (located by
the hook switch) by pushing it upwards and snap it into place so it will hold
the handset in place when the phone is mounted on the wall.
3. Insert the mounting bracket's two tabs into the matching slots opposite the
INSTALLATION
5 – ENGLISH
appears on the display
