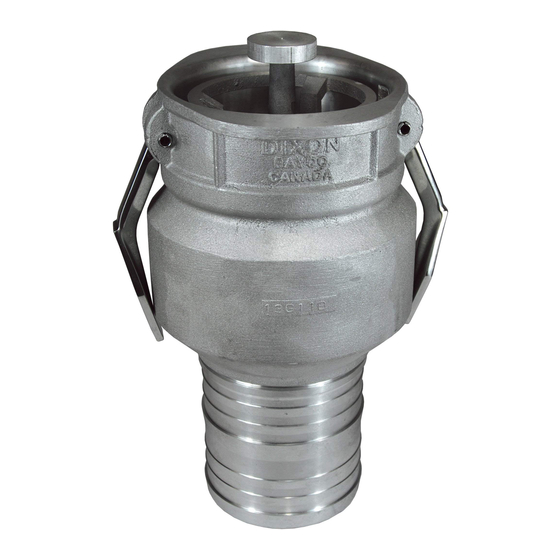
Dixon Bayco Bakım ve Kullanım Talimatları - Sayfa 4
Endüstriyel Ekipmanlar Dixon Bayco için çevrimiçi göz atın veya pdf Bakım ve Kullanım Talimatları indirin. Dixon Bayco 4 sayfaları. Locking handle kit
Ayrıca Dixon Bayco için: Kurulum Talimatları (5 sayfalar), Bakım ve Kullanım Talimatları (4 sayfalar), Bakım ve Kullanım Talimatları (10 sayfalar)

6. Remove the poppet (3) and the spring (5).
7. Remove the bushing (7) and replace with a new bushing (7) if needed.
8. Install the spring (5) and the poppet (3) from the front end into the body (1). After the poppet (3)
end passes the bushing (7), thread the poppet stop (12) from the coupler back onto the poppet
(3) end and hand tighten the poppet stop (12).
9. Hold the cage (2) and use the wrench for 1" hex to tighten the poppet stop (12).
10. Push the poppet (3) into the coupler and hold. Install the new O-Ring (8) and make sure that
the O-Ring (8) sits in the poppet (3) groove properly.
11. Install the cage (2) to the poppet (3) using the machine screws (6) and lock washers (14).
12. Push the cage (2) into the body (1) to make sure the cage (2) and the poppet (3) can move
smoothly.
DIXON WARRANTY:
For Warranty Information, please refer to the inside back cover of the latest Dixon
Catalogue.
4
090121 Rev 6
