ClearSpan CL108548 Manuel - Sayfa 5
Sera Kiti ClearSpan CL108548 için çevrimiçi göz atın veya pdf Manuel indirin. ClearSpan CL108548 19 sayfaları. 42' x 40' economy building

LAY OUT THE BUILDING SITE
After the site is prepared, identify the location of the shelter corners to help
square the frame during and after assembly.
Taking these steps before assembling the shelter saves time and ensures that
the structure is positioned as desired. The following procedure is a suggested
method. Its use depends on the size of the shelter, shelter application, the
footings, and the method used to anchor the shelter.
SQUARE THE SITE
1.
Identify a corner where a building rafter will be positioned, drive in a stake,
and string a line the exact width of the building and stake in place. (Width of
the rafter is measured from center-to-center of the rafter legs.)
2.
String a line at least as long as the building from the first stake at 90°.
NOTE: A transit can be used to ensure an accurate 90° angle, or the 3-4-5
rule can be used. Refer to diagram. Using multiples of 3-4-5 such as 6-8-10
or 12-16-20 helps to maintain an accurate 90° angle.
3.
After squaring the position of the building and placing a stake at all corners,
string a line between the stakes to mark the base of the building.
4.
Next, mark a line on the ground using the strings between the stakes as
guides. The string line can also be used to align rafters during assembly.
NOTE: There is no need to mark the rafter spacing. The purlins, when
installed correctly, will maintain even rafter spacing throughout the length of
the shelter.
Revision date: 09.08.09
SPECIAL NOTE: Baseboards for Frame
Installing a baseboard under the mounting feet along each side of the frame is
recommended. The baseboard runs from the front to the back of the building.
This baseboard is not included with the shipment and must be supplied by the
customer. Treated or recycled plastic lumber works well for a baseboard.
The baseboard, when installed properly, helps prevent the shelter from sinking
into the ground when anchored. Baseboards also provide a surface to attach
rafter feet or other building components.
BASIC ASSEMBLY STEPS
Follow these basic steps to assemble your building:
1.
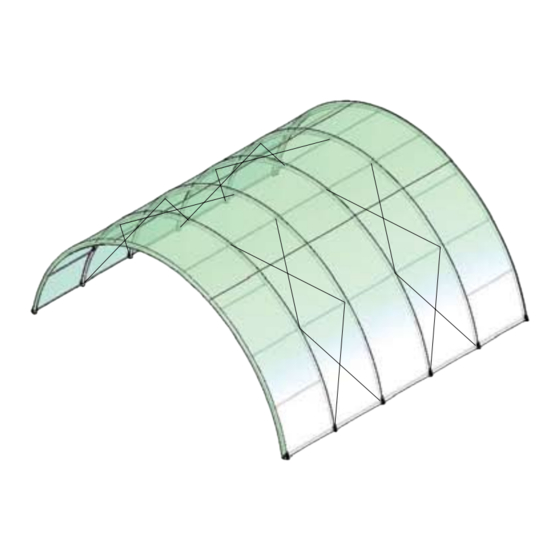
Consult the diagrams within this manual to assemble your building. Note
that the two (2) end rafters are different from the remaining interior/mid
rafters. Consult the Connections and Connections Details diagrams. Brace
the first end rafter in place after setting it in position on the site. Do not
remove the end rafter bracing until interior rafters are set and attached
forming the frame.
2.
Assemble the entire frame and anchor to the site.
3.
Assemble, install, and tighten the cables.
4.
Check all connections and install the ratchets for the main cover. Attach all
ratchets to the frame using Tek screws.
QH1065 Ratchets (large): All side positions.
QH1061 Ratchets (small): End rafter positions only. See Cover
installation steps for clarification and position. Use the QH1061
ratchets to secure bonnet of cover.
5.
Install the main cover and tighten.
CLEARSPAN
FABRIC STRUCTURES
™
5
