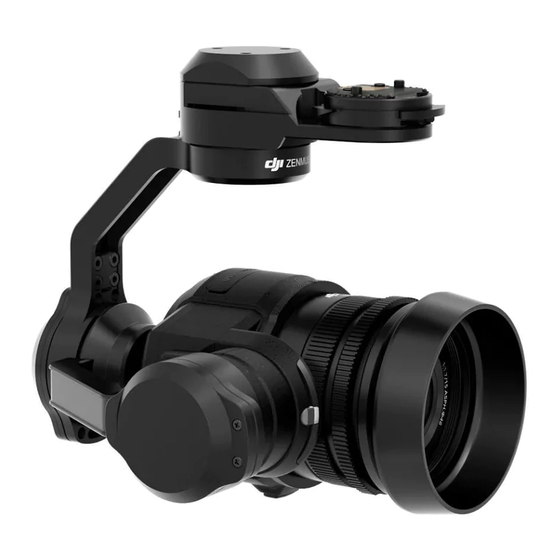
dji Zenmuse X5 Kullanıcı Kılavuzu - Sayfa 8
Kamera Aksesuarları dji Zenmuse X5 için çevrimiçi göz atın veya pdf Kullanıcı Kılavuzu indirin. dji Zenmuse X5 17 sayfaları. For inspire 1 pro
Ayrıca dji Zenmuse X5 için: Kullanıcı Kılavuzu (11 sayfalar), Kullanıcı Kılavuzu (18 sayfalar), Kullanıcı Kılavuzu (18 sayfalar), Manuel (11 sayfalar)

ZENMUSE X5 User Manual
4. Align the two Lens Mount Indexes on the camera body and camera lens, and insert the
camera lens into the body of the camera.
5. Rotate the camera lens clockwise until you hear a click.
6. Rotate the Lens Lock counterclockwise to lock it.
7. Mount the Balancing Ring (or a filter) and the Lens Hood.
8. Insert the Micro SD card.
4
To remove the camera lens, power off the battery and then:
1. While holding down the Lens Release Button, rotate the Lens Lock clockwise to unlock it.
2. While holding down the Lens Release Button, rotate the camera lens counterclockwise to
detach it.
It is recommended to wrap the dust cover around the lens for aerial applications. The
DJI specified dust cover can be installed on the DJI MFT 15mm f/1.7 ASPH and the
Panasonic Lumix G Leica DG Summilux 15mm f/1.7 ASPH. Purchase an appropriate
dust cover for the Olympus M.Zuiko Digital ED 12mm f/2.0 if necessary.
It is important to tighten the Lens Lock after attaching the camera lens, as this can
reduce the vibrations of the lens when the aircraft is moving in flight. Always loosen
the Lens Lock before attaching and detaching the camera lens.
A filter can be installed in place of the Camera Balancing Ring. Remember to use a
filter that fulfills the weight requirement.
The Lens Hood can only be installed on the DJI MFT 15mm f/1.7 ASPH or Panasonic
Lumix G Leica DG Summilux 15mm f/1.7 ASPH. DO NOT install the Lens Hood on
the Olympus M.Zuiko Digital ED 12mm f/2.0.
8
©
2015 DJI. All Rights Reserved.
5
Balancing Ring (or Filter)
Lens Hood
7
Lens Release Button
