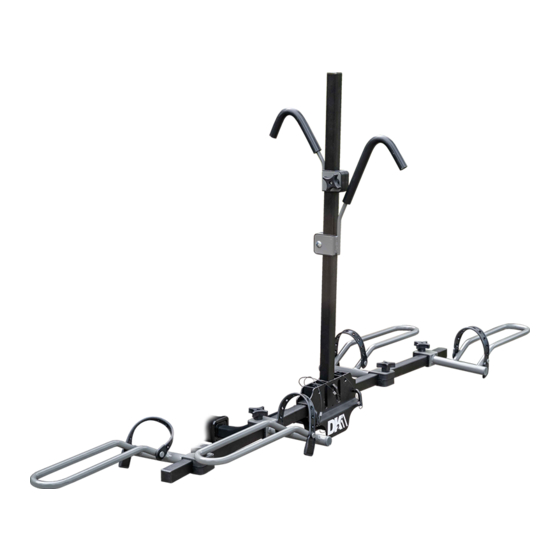
DK2 BCR590 Manuel - Sayfa 6
Otomobil Aksesuarları DK2 BCR590 için çevrimiçi göz atın veya pdf Manuel indirin. DK2 BCR590 10 sayfaları. Hitch mounted bike carrier

ENGLISH
ASSEMBLY
Except for the cradle assemblies, this product is shipped
from the factory in a disassembled state.
Make some room at the rear of your vehicle. Although once
assembled, the bike rack is easy to slip into your hitch
receiver. For simplicity, the initial assembly is best done
directly onto the back of the vehicle.
Remove everything from the carton and check the
components against the parts list, familiarizing yourself with
them as you go. Do this in a cleared space near the rear
of your vehicle. Retain packing materials until you are sure
everything is present and in good condition.
1. Unpack the contents of your bike carrier and lay the
parts out on a flat surface
2. Unfold the two outer arms of the tray rack and install the
black safety pins through each of the three holes on the
main bracket. (fig.1)
fig.1
3. With the two-hole galvanized block inserted into the
fig.2
6
BCR590 man
1
a
FRANÇAIS
ASSEMBLAGE
À l'exception des assemblages de berceau, ce produit est
expédié de l'usine dans un état démonté.
Faites de la place à l'arrière de votre véhicule. Bien qu'une
fois assemblé, le porte-vélos se glisse facilement dans
votre attelage. Pour plus de facilité, l'assemblage initial est
préférable directement à l'arrière du véhicule.
Retirez tout du carton et vérifiez les composantes en
fonction de la liste de pièces, vous familiariser avec les
pièces, faites-le dans un espace dégagé près de l'arrière
de votre véhicule. Conservez les matériaux d'emballage
jusqu'à ce que vous soyez sûr toutes les pièces sont en
bon état.
1. Déballez le contenu de votre porte-vélos et posez les
pièces sur une surface plane
2. Dépliez les deux bras extérieurs du support de bacs et
installez les goupilles de sûreté noires dans chacun des
trois trous du support principal. (Fig. 1)
3
2
3. Avec le bloc galvanisé à deux trous inséré à l'extrémité
