ALUZ A8 Series Manuel - Sayfa 10
Aydınlatma Ekipmanları ALUZ A8 Series için çevrimiçi göz atın veya pdf Manuel indirin. ALUZ A8 Series 14 sayfaları. Tape
Ayrıca ALUZ A8 Series için: Manuel (12 sayfalar), Manuel (2 sayfalar), Kurulum Kılavuzu (13 sayfalar)

1
Measure area where luminaire will be installed. Use a laser line to
create a reference line along installation area, ensuring consistent
alignment of mounting channels. Mark location where each
channel will be installed along reference line.
2
Lay mounting channels along reference line and drill at least 3
countersink holes per channel. Drill additional holes as needed.
3
Screw mounting channels to surface using countersink screws.
Note: Ensure channels are aligned.
4
After all mounting channels have been securely installed, remove
adhesive backing from lightstrip and stick in place along channel,
ensuring lightstrip is flat and secure.
5
Ensure lightstrip is secured in place and is free of twists, tangles,
creases, bumps, or overlaps.
1170 N Red Gum St, Anaheim, CA 92806
aluz.lighting
© ALUZ All Rights Reserved. ALUZ reserves the right to make changes or withdraw specifi cations without prior notice.
A8 Series | LED Tape
ZIZA Tape
(A8-ZIZA-TAPE)
866.ALUZ.LTG | 714.535.7900
6
After all mounting channels have been securely installed, remove
adhesive backing from lightstrip and stick in place along channel,
ensuring lightstrip is flat and secure.
7
Ensure lightstrip is secured in place and is free of twists, tangles,
creases, bumps, or overlaps.
8
After all mounting channels have been securely installed, remove
adhesive backing from lightstrip and stick in place along channel,
ensuring lightstrip is flat and secure.
9
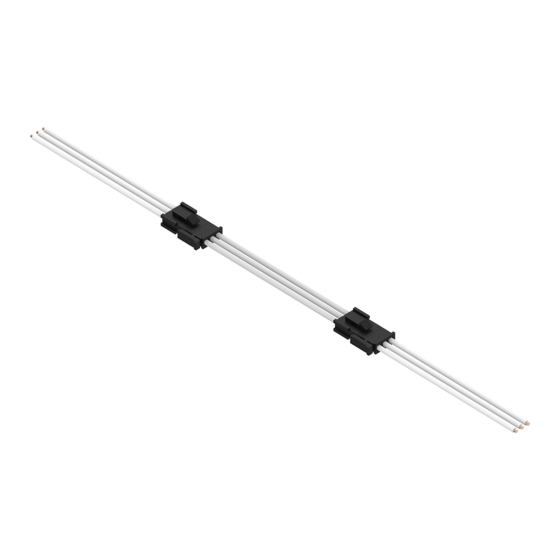
If applicable, connect disconnects between luminaires or solder
connectors using the steps on Application Guidelines.
10
Perform a continuity test before connecting to power source.
Refer to Continuity Test for details.
Page 10 of 13
Mounting Lightstrip
(Mounting Channel)
Installation Instructions
8 / 11 / 2023 / Rev 2
