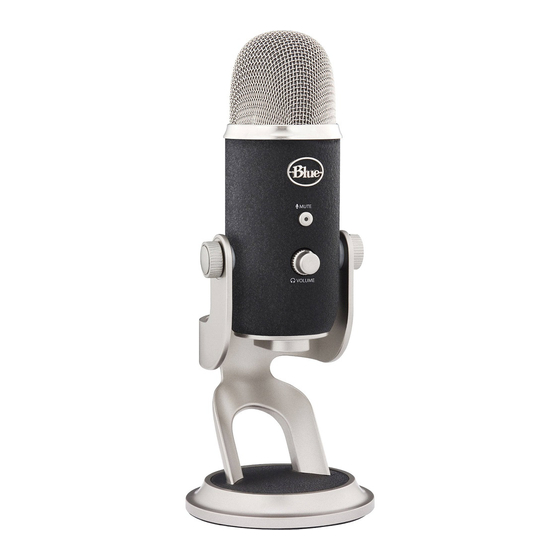
Blue YETI PRO Kullanıcı Kılavuzu - Sayfa 10
Mikrofon Blue YETI PRO için çevrimiçi göz atın veya pdf Kullanıcı Kılavuzu indirin. Blue YETI PRO 16 sayfaları. Ultimate usb & xlr microphone for professional recording

Now that your Yeti Pro is connected, verify that the microphone gain knob is centered, select your desired recording pattern,
and get ready to record.
Selecting Sample Rates on Apple-Macintosh
1. From the Applications menu, select "Utilities".
2. From the Utilities menu, select "Audio MIDI Setup".
3. From the Window pull down menu, select "Show Audio Window".
4. Select "Yeti Pro USB Microphone" from the column on the left side of the Audio Window.
5. Once you've selected "Yeti Pro USB Microphone" from the left side of the Audio Window, select the "Input" tab.
6. From the Input tab, you can select the desired sample rate and bit depth.
7. Select the Output tab, and select your desired output sample rate and bit depth.**
**NOTE: Sample Rate settings must be the same for both input and output.
18
Using Yeti Pro in Analog Mode
Not only can you plug your Yeti Pro directly into your computer to record high fidelity recordings, but you can also plug Yeti
Pro into a phantom power-capable microphone preamplifier and record as you would a standard microphone! To use Yeti Pro
in Analog Mode, you will need to plug the supplied Y-cable into the 5 pin connector at the bottom of the Yeti Pro microphone.
If you are going to use the Yeti Pro in Stereo, you will need two microphone preamplifiers (or a two channel preamp). As with
all other stereo recordings, using matched preamplifiers will provide the best results. The white XLR connector on the Y-cable
carries the left channel signal, and the red XLR connector on the Y-cable carries the right channel signal. If you are recording
in Cardioid, Omnidirectional, or Bidirectional, you'll only need to plug in the white (left) XLR connector into a preamplifier (both
channels will output the same signal).
Once you've plugged the Yeti Pro into your microphone preamplifier(s), set the microphone gain on the microphone to zero.
Once you're plugged into your preamplifier(s), you'll want to control the gain with your microphone preamplifier(s) as opposed
to the gain on the Yeti Pro microphone.
19
