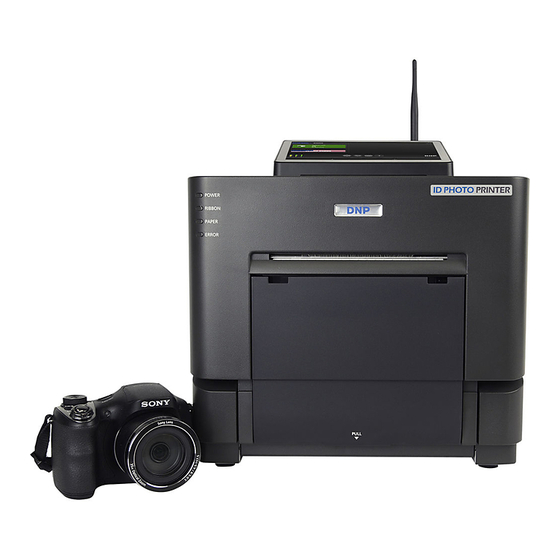
DNP IDW500 Hızlı Adım Kılavuzu - Sayfa 2
Dijital Kamera DNP IDW500 için çevrimiçi göz atın veya pdf Hızlı Adım Kılavuzu indirin. DNP IDW500 2 sayfaları. Steps for successful passport photos

The console says IMAGE REJECTED. What's wrong?
• The console automatically rejects image that are not consistent with
standard passport photo rules and regulations.
• Face cannot be detected. Check for blurriness or poor lighting
conditions.
• Head size is too small/large. Use the on-screen head guide to
correct the sizing.
• Image is too dark. If possible, use photo lighting for the subject
and the background. Use the camera flash if necessary.
• Shadows on background. No pronounced shadows are allowed.
What are some other tips and tricks to get the most
out of my system?
• Correct power on order: printer first, console second, camera third.
• If you restart the camera at any time, wait one minute for the camera to
connect to the console via Wi-Fi.
• It takes less than three minutes for the console to initialize. Every time
the console is restarted, a test page is printed. This lets you know that
the printer is working properly, and that the system is ready to accept
images.
• If you must restart the console, use the proper software shutdown
procedure. Do not restart the console using only the power button - this
can cause system failures.
• The camera and card can take up to 2 minutes to sync up with the
console.
• Replace and recharge batteries often. Once the battery reaches half-
full, the remaining battery life drains more quickly.
S
yStem
• Ping.
CAMERA FOUND and the console is ready for image transfer.
Continues every few seconds while the camera is powered on.
• Electronic.
TRANSFERRING IMAGE from camera to console.
• Pump.
Console is PROCESSING IMAGE - resizing and preparing for
print. Also when transferring images to a USB drive.
• Gong.
PRINTING, image successfully sent to printer.
• Buzzer.
IMAGE REJECTED, console is unable to detect the subject,
image is too dark, or head size is incorrect.
• Beep.
PRINTER NOT FOUND at console power up.
• Long
Beep. INSERT USB drive.
• Alarm Clock.
REMOVE USB drive.
S
oundS
5. Verify the Image Transfer.
• The IDW500 console beeps and a TRANSFERRING IMAGE
message appears. Next, a stitching sound is heard and a
PROCESSING IMAGE message appears.
• If the image is rejected, an IMAGE REJECTED message
appears. Reshoot the image following the standard passport
guidelines.
6. Print the image.
• When the image is processed, the acceptance screen
appears. Press ACCEPT
PHOTO to print the
image, MANUAL EDIT
for editing options, or
CANCEL to return to the
main screen and retake
the image on the camera.
• On the editing screen,
make changes to the
color, brightness, contrast, and slight rotation changes.
• Press CANCEL to return to the main screen.
• After sending images to be printed, you can also save them to
a USB device.
Remember!
• If the camera is not detected by the IDW500 console, check
that the camera batteries are still charged.
• When the image has printed and the customer is happy with
the result, delete the image from the camera memory - go to
PLAYBACK mode, press the DELETE button, confirm the
delete, and then return to shooting mode.
Need Help? Call Tech Support!
1-844-367-8777
