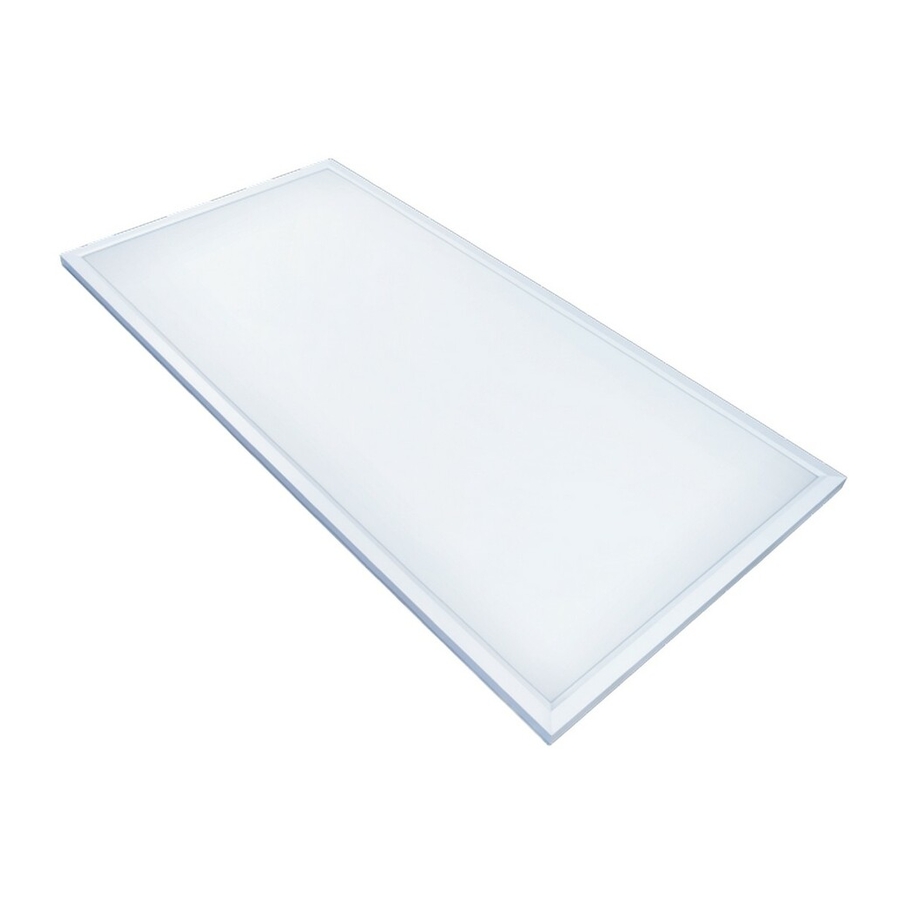
Et FPCP-2X2-4500LM-8-CP3-MV-LVD-1PK Kullanım ve Bakım Kılavuzu - Sayfa 2
Işık Fikstürü Et FPCP-2X2-4500LM-8-CP3-MV-LVD-1PK için çevrimiçi göz atın veya pdf Kullanım ve Bakım Kılavuzu indirin. Et FPCP-2X2-4500LM-8-CP3-MV-LVD-1PK 6 sayfaları. Led eco9 flat panels with lumen boost and color preference

SURFACE MOUNTING
Use screws to assemble 3 sides of the
9c
surface mounting kit.
Restore power at the electrical panel.
13c
Turn on the light switch to activate the fixture.
WARNING: Carefully read and understand the information given in this manual before beginning the assembly and installation. Failure to do so could lead to electric shock, fire, or
qualified electrical/building inspector(s).
NOTICE: This device complies with Part 15 of the FCC Rules. Operation is subject to the following two conditions: (1) this device may not cause harmful interference, and (2) this device
must accept any interference received, including interference that may cause undesired operation. These limits are designed to provide reasonable protection against harmful interference
in a residential installation. This equipment generates, uses and can radiate radio frequency energy and, if not installed and used in accordance with the instructions, may cause harmful
interference to radio communications. However, there is no guarantee that interference will not occur in a particular installation. If this equipment does cause harmful interference to radio
or television reception, which can be determined by turning the equipment off and on, the user is encouraged to try to correct the interference by one or more of the following measures:
Reorient or relocate the receiving antenna, increase the separation between the equipment and the receiver, connect the equipment into an outlet on a circuit different from that to which
the receiver is connected, and consult the dealer or an experienced radio/TV.
Changes or modifications not expressly approved by the party responsible for compliance could void the user's authority to operate the equipment.
See website for Warranty, Troubleshooting or Care and Cleaning details at www.ETiSSL.com.
BB
If installing into drywall, drill four 1/4 in. diameter
10c
holes into the ceiling, insert drywall anchors into
the holes, and use screws to secure the surface
mounting kit to the ceiling.
NOTICE: ETI surface mount kits can be applied
to many installation applications. Installer is
responsible to ensure kit compatibility with
attachment method to surface or structure in
accordance with any local code requirements for
installation and inspection.
Make the electrical connections. See Making
11c
Electrical Connections.
Questions, problems, missing parts? Call ETiSSL Customer Service 8 a.m. - 5 p.m., CST, Monday - Friday
1-855-ETI-SSLI (1-855-384-7754) www.ETiSSL.com
BB
BB
12c
Slide the fixture into the surface mounting
kit and use screws to secure the remaining
piece of the surface mounting kit.
A
