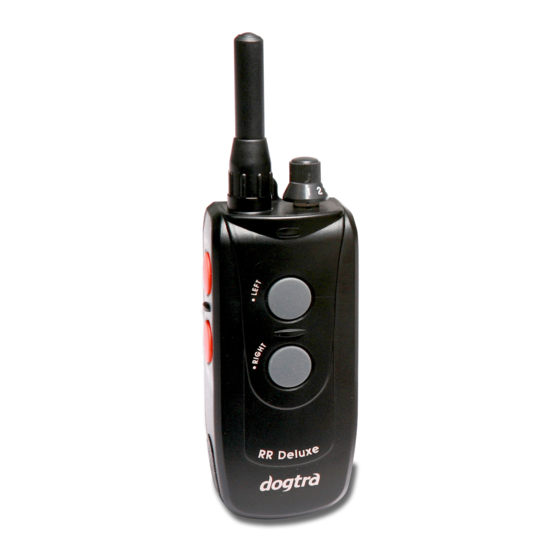
Dogtra RR Deluxe Kullanıcı El Kitabı - Sayfa 5
Verici Dogtra RR Deluxe için çevrimiçi göz atın veya pdf Kullanıcı El Kitabı indirin. Dogtra RR Deluxe 17 sayfaları. Code setting
Ayrıca Dogtra RR Deluxe için: Ürün Kılavuzu (14 sayfalar), Ayarlar Kılavuzu (2 sayfalar), Kod Ayarlama Kılavuzu (2 sayfalar)

- 1. Table of Contents
- 2. Overview
- 3. Main Features
- 4. Package Contents
- 5. Important Safeguards
- 6. Description of Transmitter Parts
- 7. Description of Receiver Parts
- 8. Description of Launcher Parts(Ql, Pl)
- 8. Assembly and Operation
- 8. Adjusting Spring Strength Settings
- 9. Charging the Batteries
- 10. Reception
- 11. Accessories
- 12. Basic Maintenance
- 13. Warranty and Repair Information
DESCRIPTION OF TRANSMITTER PARTS
1. Antenna : A 2 Antenna is supplied with
Dogtra RR Deluxe transmitter. The
antenna must be fastened to the
transmitter before using the unit.
2. Indicator light(LED) : The color of the
light indicates the status of battery life.
(Green = full, Amber = medium, Red =
needs charge) The indicator light glows
when buttons are pressed as well.
3. Selector dial : By turning the selector dial
you can control the desired launchers (one
to eight).
4. Battery charging receptacle / rubber
plug : Plug the charger cable jack into this
receptacle when charging the collar. After
charging, make sure the rubber cover is
fully seated so that dirt will not enter the
receptacle.
5. Left launcher button : Left launcher
button releases the launcher connected to
the left jack of the receiver.
6
DESCRIPTION OF TRANSMITTER PARTS
6. Right launcher button : Right launcher
button releases the launcher connected to
the right jack of the receiver.
7. Beeper button : Beeper button activates
the speaker horn on the receiver to emit a
loud beep sound.
8. Duck call button : Duck call button
activates the speaker horn on the receiver
to emit a series of quacks.
7
