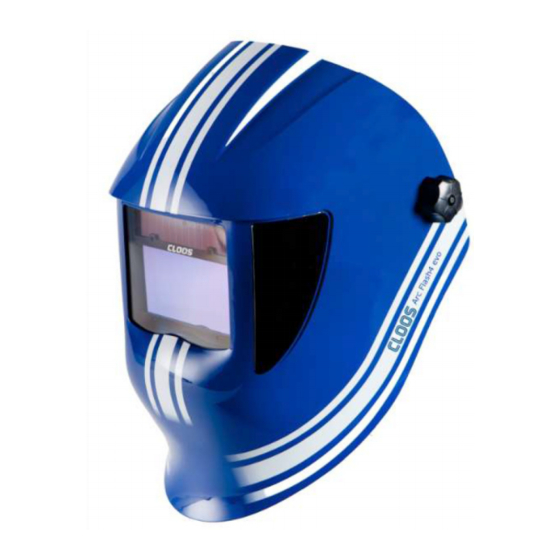
Cloos Arc Flash 4 evo Kullanım Talimatları ve Yedek Parça Listesi - Sayfa 11
Kaynak Aksesuarları Cloos Arc Flash 4 evo için çevrimiçi göz atın veya pdf Kullanım Talimatları ve Yedek Parça Listesi indirin. Cloos Arc Flash 4 evo 20 sayfaları. Welding helmet
Ayrıca Cloos Arc Flash 4 evo için: Kullanım Talimatları Kılavuzu (16 sayfalar)

4.2.3 Removing the Filter
Opening the filter cover:
Grip the blower and pull up the cover from the right side to the blower.
ATTENTION ! lt is strictly forbidden to use any tools to open the filter cover.
To remove the filter, pull it off the filter seal while rotating it. Clean the unit
from dust.
4.2.4 Fitting a new Filter
Inserting a new filter:
Put the filter back into position using the same rotating motion and gently
push until it fits well on the body of the unit.
Closing the filter Cover:
Simply snap the cover into place. Pay special attention to snap the cover
properly into the blower. Do not attempt to use the blower unit without
the cover fitted correctly.
4.2.5 Changing the Pre-Filter
The Pre-Filter is a sleeve which is fitted over the main filter. To remove / re-
place simply pull off the old filter and stretch the new one into position. It's
important to ensure that the filter media of the main filter is completely
covered by the Pre-Filter.
4.2.6 Attaching the Hose to the Blower Unit
Align the pins of the Hose Bayonet connector with the slots in the air
outlet of the blower. Push the bayonet connector into the blower until it
reaches the bottom of the hole and then twist in a clockwise direction until
the locating pins clips into place.
Fitting the hose to the hoods is the same procedure.
4.2.7 Donning the Welding Helmet
First set the Welding helmets rake and adjust the welding filter to suit
personal comfort (See the helmet's user instructions). Lift the helmet to it's
upper position. Place over the head and adjust the headgear ratchet wheel
by pushing it in and twisting until a satisfactory tightness is achieved.
Pull the elasticated chin guard downwards and at the same time pull the
helmet down. Ensure the elasticated chin guard fits comfortably under the
chin. The Welding helmet is now ready for use.
11
