EG4 MPPT100-48HV Kullanıcı Kılavuzu - Sayfa 6
Akü Şarj Cihazı EG4 MPPT100-48HV için çevrimiçi göz atın veya pdf Kullanıcı Kılavuzu indirin. EG4 MPPT100-48HV 10 sayfaları. Mppt charger 100a 48vdc

NOTE:
This MPPT charger has a built-in PV breaker on the side panel of the unit for added safety,
protection and to assist with code compliance. (For local codes, check with your local AHJ.)
Ensure the PV breaker is in the off position prior to installing PV wires.
WARNING
We recommend all wiring be performed under the guidance of a licensed professional.
PV Wire Installation:
1. Remove insulation sleeve 10 mm/0.4" for positive and negative conductors.
2. Check correct polarity of connection cable from PV modules and PV input connectors. Then, connect
positive pole (+) of connection cable to positive pole (+) of PV input connector. Connect negative
pole (-) of connection cable to negative pole (-) of PV input connector.
3. Ensure PV cables are tightened to the proper torque specifications in the chart below.
PV Module Selection:
When selecting PV modules, please be sure to take into account that the temperature-adjusted open
circuit voltage (VOC) of the PV modules should not exceed the max PV array open circuit voltage of the
charger.
Operation and Display Panel
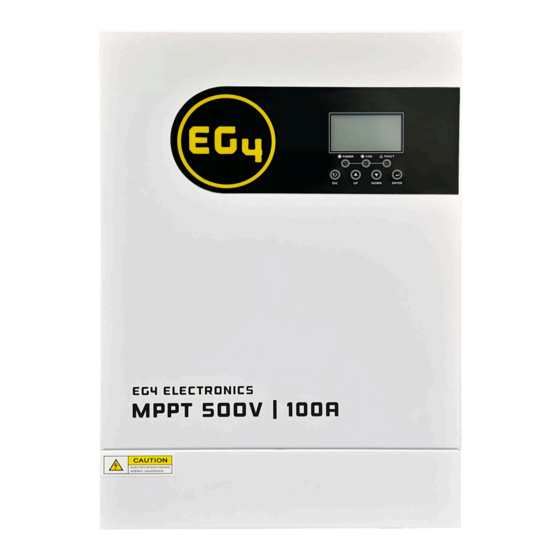
The operation and display panel, shown in the chart below, is located on the front panel of the
MPPT charger. It includes three indicators, four function keys and a LCD screen, indicating the
operating status and the input/output power information of the charger.
LED Indicator
LED Indicator
Power
CHG
Fault
Function Keys
Function Key
ESC
UP
DOWN
ENTER
OPERATION
Power ON/OFF
1. Make sure the unit has been properly installed and the batteries are connected securely.
2. Verify that the PV modules are connected securely and within safe MPPT voltage range.
3. Turn on the battery breaker on the unit and then turn on the battery breakers/switches.
4. Turn on the PV breaker. When the modules produce sufficient power, the unit will power on and operate
normally.
Note:
• Only when both batteries and PV modules are properly wired and producing sufficient power will the
unit power on and operate normally.
• When the PV power is lost,the unit will go into standby mode and power off after about 2 minutes.
Only when the PV power returns to MPPT voltage range will the unit power on and work normally.
Green
Solid On
Solid On
Green
Flashing
Solid On
Red
Flashing
Description
To exit setting mode
To go to previous selection
To go to next selection
To confirm the selection in setting mode or enter setting mode
Messages
The unit is powered on
Battery is fully charged
Battery is charging
Fault has occurred in the charger
Warning condition has occurred in the charger
5
