D&K Monarchy Minikote EZ G3 Kullanıcı El Kitabı - Sayfa 7
Laminatör D&K Monarchy Minikote EZ G3 için çevrimiçi göz atın veya pdf Kullanıcı El Kitabı indirin. D&K Monarchy Minikote EZ G3 15 sayfaları.
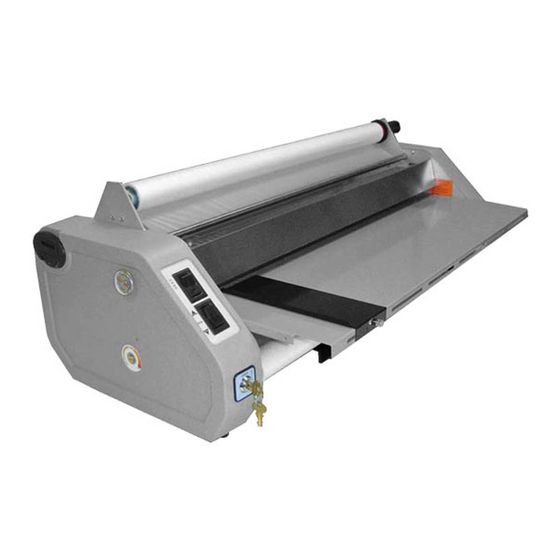
I. Unpacking
I. Unpacking
Remove the laminator from its box by grasping the housings and pulling up. Do not use rollers or shafts
as handles - this could cause damage. Choose a location for the laminator that is clean, well-lit and draft
free. Make sure it is not in the path of any fans, room air conditioners, or positioned too close to the wall.
The laminator comes to you ready to load the lm onto the supply mandrels, thread the lm through the
machine, and install the feedtable.
II. Information About Laminating Film
II. Information About Laminating Film
Laminating lm is made up of two layers: a glossy layer which gives the lamination its strength, clarity and
rigidity, and a dull or matte side which is heat activated and serves as the "glue" to bond the lm to the
product being laminated. Once heated, small amounts of the "glue" side can stick to the heat shoes and
rollers and must be periodically cleaned from the laminator.
Laminating lm is available in a variety of different lengths, and thicknesses. The Minikote EZ Laminator
is designed to use 1.5 mil (#150), and 3 mil (#300), lm thicknesses.
III. Operating
III. Operating
A. Control Panel
A. Control Panel
The control panel is located on the left side of the laminator. This panel is used to control the various
machine functions listed below.
Heat (A,M,N)
Heat (A,M,N)
The temperature can be turned either "on" or "off" using the the heat switch (A) which is located on the
control panel. The heat can be controlled manually using the heat control knob (N) located on the left
housing (E). A thermostat (M) is also located on the left housing (E) and provides the current temperature
of the laminator. Note: depending on room conditions and desired set point, it will take between 20 and
30 minutes for the laminator to heat up to desired temperature.
Motor (B)
Motor (B)
To stop the motor, press the "Stop/Reverse" switch in the "Stop" (nuetral) position. To start the motor,
press the "Stop/Reverse" switch in the "Fwd" location. To reverse the motor, press the "Stop/Reverse"
switch in the "Rev" location. The motor will remain in reverse as long as the button is depressed.
Additional Features
Additional Features
Keyswitch
Keyswitch
The keyswitch (located just below the control panel) locks out the motor, allowing the machine to remain
heated; yet, preventing unauthorized usage when in the locked position.
5
Laminator.com
www.laminator.com