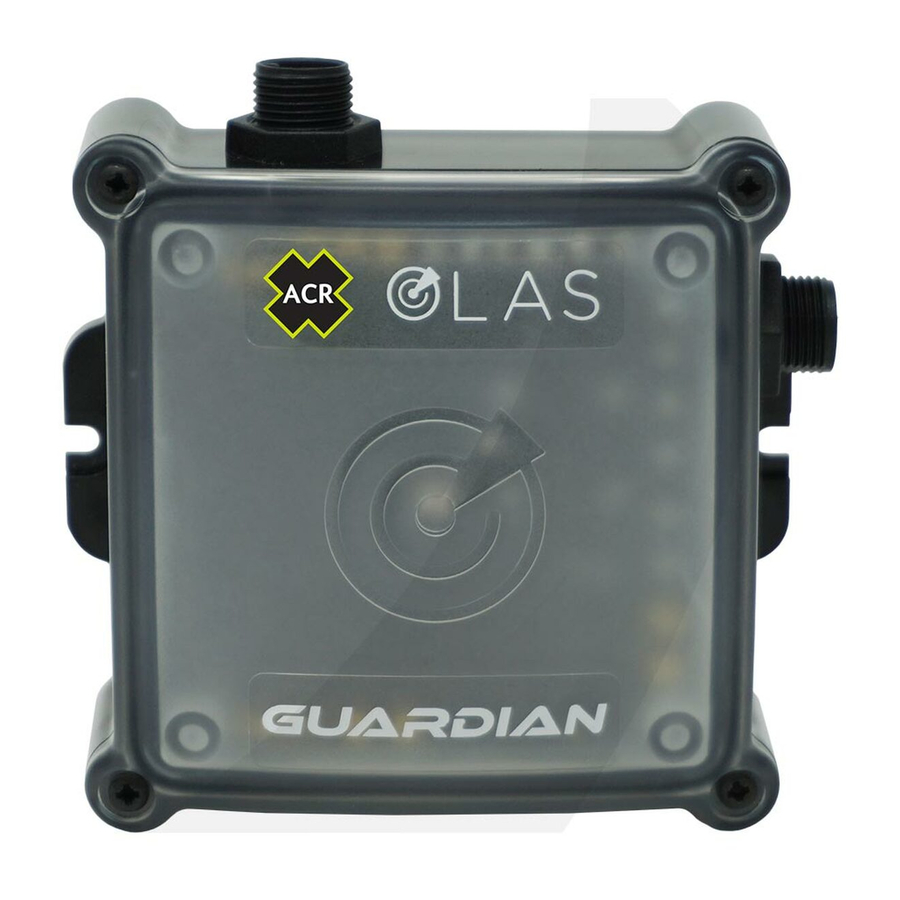
ACR Electronics OLAS GUARDIAN Hızlı Başlangıç Kılavuzu - Sayfa 6
Güvenlik Sistemi ACR Electronics OLAS GUARDIAN için çevrimiçi göz atın veya pdf Hızlı Başlangıç Kılavuzu indirin. ACR Electronics OLAS GUARDIAN 16 sayfaları.
Ayrıca ACR Electronics OLAS GUARDIAN için: Test (2 sayfalar), Sorun Giderme (2 sayfalar)

CONNECTING THE POWER WIRES (10-32VDC)
Connect power cable to Guardian hub.
Ensure Power supply is switched OFF.
1.
Connect the white (+ or positive) wire to the positive voltage terminal
2.
Connect the black (- or ground) wire to the negative voltage terminal
3.
Install a 1-3 A fuse in line with the positive connection
The Guardian uses a double throw relay enabling it to open or close any circuit. It can be connected in
place or alongside your existing kill switch as it can be installed to perform the same function.
CONNECTING THE SIGNAL WIRES ALONGSIDE YOUR EXISTING KILL SWITCH
1.
Check with your engine manufacturer if the kill switch is operated by Closing the circuit or Opening
the circuit. Most engines operate by closing the circuit to stop the engine.
Close to stop systems should connect in parallel to your existing kill switch.
Open to stop systems should connect in series to your existing kill switch.
2.
There are 3 signal wires:
Grey= COMMON
Brown = CLOSE TO STOP
Purple = OPEN TO STOP
3.
Connect the grey wire to the existing kill switches common wire
4.
Connect the brown wire to the remaining kill switch wire if your system uses the close to stop system
5.
Connect the purple wire to the remaining kill switch wire if your system uses the open to stop system
NOTE: ONLY two signal wires should be connected
6.
Close off the remaining wire with the supplied end cap
SECURE THE GUARDIAN HUB
1.
Find a location where the hub can be securely attached, and the power and switch wires can remain
securely attached to the hub
2.
The attachment screws provided are self-tapping for plastic / wood so can be screwed directly into
the center console. Ensure attachment point is thicker than the attachment screws to avoid screwing
through the panel.
3.
Secure the hub firmly into the center console
6
