Amcrest TC-1241EW-AI Посібник із швидкого старту - Сторінка 3
Переглянути онлайн або завантажити pdf Посібник із швидкого старту для Камера спостереження Amcrest TC-1241EW-AI. Amcrest TC-1241EW-AI 12 сторінок.
Welcome
Thank you for purchasing an Amcrest camera!
This document provides a quick setup and overview of your device and its features. For access
to a full user manual or further information regarding your device please visit:
http://amcrest.com/support
Important Safeguards and Warnings
●
All installation and operations of the device should conform to your local electrical safety
codes.
●
We assume no liability or responsibility for any of the fires or electrical shocks caused by
improper handling or installation.
●
We are not liable for any problems caused by unauthorized modifications or attempted
repair.
●
Handle with care, avoid from dropping or placing the device in unsecure ar eas.
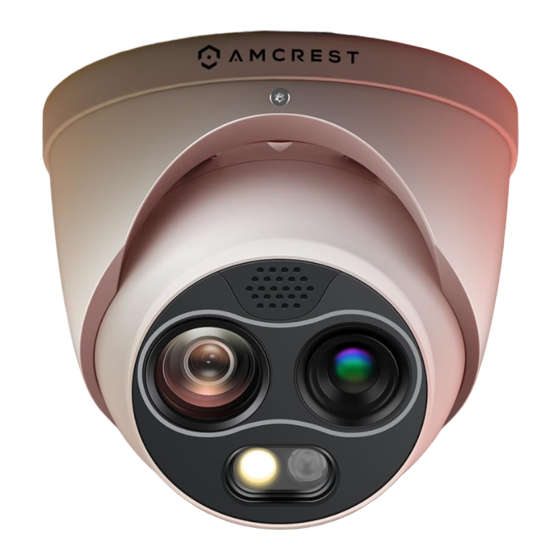
Overview
This hybrid thermal camera offers 2 separate channels, a thermal channel and a visible channel
for dual image fusion. It offers various AI functions such as IVS for increased perimeter
protection, call detection, smoking detection, and other features necessary for short-distance
protection and monitoring. The device is perfect for factories, parking lots, villas, and more.
The camera features 1 IR LED which allows the camera to detect objects from up to 98ft away as
well as a designated warning light that can be set to flash and act as a deterrent once certain
rules are triggered. The camera can be accessed in most mainstream web browsers however,
for optimal use, it is highly recommended to use IE mode in Microsoft Edge as most options
and smart thermal features require the use of a .exe plugin. However, the camera features
flexible storage options to store recordings to a microSD card (up to 256GB) or SFTP/FTP, all
these features can be accessed and customized using a web browser.
Installation
Before setting up your camera, please ensure the installation surface can support at least 3 times
the weight of the camera.
MicroSD Card Installation
The camera is compatible with up to a 256GB microSD card. Please make sure the microSD
card is rated class 10 or above and properly formatted before installing into the camera.
1. Remove the hatch on the camera and locate the microSD card slot.
2. Insert the microSD card into the slot and press in to secure.
3. Place the hatch back onto the camera and tightly secure.
Camera Installation
Included with your camera is an installation bracket that can be used to mount your camera to an
installation surface. As stated, please make sure the installation surface can support at least 3
times the weight of the bracket and camera. For more information, please refer to the installation
guide included with this device.
Note: When installing the camera, please make sure to position the viewing angle of the camera
in a manner that is optimal for capturing thermal data. A junction box or wall mount can be
applied however will be sold separately.
3