Flomec QS200 Посібник користувача продукту - Сторінка 7
Переглянути онлайн або завантажити pdf Посібник користувача продукту для Вимірювальні прилади Flomec QS200. Flomec QS200 16 сторінок. Insertion ultrasonic flowmeter options for large pipe sizes
Також для Flomec QS200: Посібник з монтажу (8 сторінок), Посібник користувача продукту (20 сторінок)
INSTALLATION
Step 1 – Drilling hole:
It is recommended that the saddle/sensor not be located on the very top or very
bottom of the pipe. Ideal performance can be achieved with the saddle mounted at
2 to 4 o'clock or 8 to 10 o'clock. Hole should also be drilled perpendicular to the pipe
centerline and tangent to the curvature.
Step 2 – Mounting the saddle:
The saddle will need to be preassembled to insure the fit is proper. Assemble the
hardware as shown in Figure 1. Tighten only the bottom nuts that hold the threaded
studs to the saddle.
TIGHTEN WITH
7/16 WRENCH
3/8" - 1/2"
Figure 1
Place gasket over hole in
pipe, place pre-assembled
saddle from above over
gasket. Be sure saddle
engages hole properly and
saddle contour matches
pipe's outside diameter.
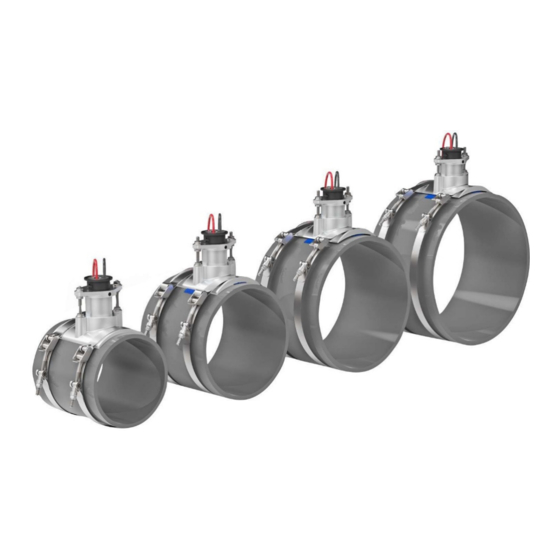
Attach 2 each band clamps
as shown in Figure 2 and
tighten with 7/16 inch
wrench. Recommended
Torque is 75 IN·LB.
NOTE: Clamps can loosen
when mounted to plastic
pipe, due to thermal
contraction.
Figure 2
TIGHTEN WITH
7/16 WRENCH
MUST EXTEND
BELOW SADDLE
TO ENGAGE WITH
HOLE IN PIPE
GASKET
TIGHTEN WITH
7/16 WRENCH
7