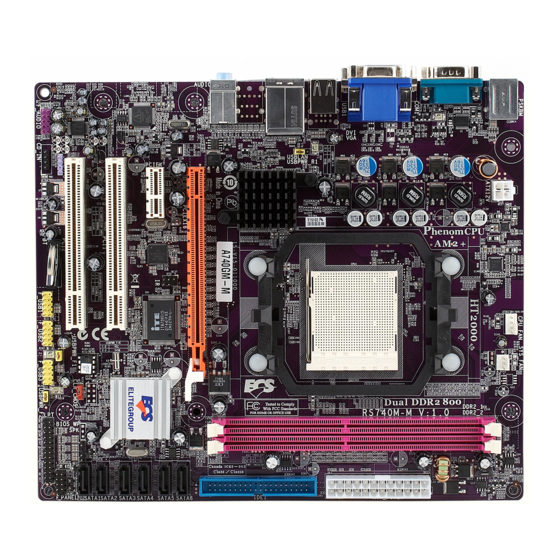
AMD 740G Посібник користувача - Сторінка 14
Переглянути онлайн або завантажити pdf Посібник користувача для Материнська плата AMD 740G. AMD 740G 14 сторінок. Chipset & chipset based m/b for socket am2+ 64-bit quad core processor

USEFUL HELP
4-1 How to Upgrade BIOS
Before updating the BIOS, users have to check if the "Miscellaneous Control" of BIOS SETUP has the
"Flash Part Write Protect" selection. If there is one, users have to "Disable" the "Flash Part Write
Protect" selection of the "Miscellaneous Control" in BIOS SETUP. Otherwise the system the will not
allow you to upgrade BIOS by Award Flash Utility. If there is no such selection, users can follow the 4
steps directly to update BIOS.
STEP 1. Prepare a boot disc. (You may make one by click START click RUN type SYS A:
STEP 2. Copy utility program to your boot disc. You may copy from DRIVER CD
X:\FLASH\AWDFLASH.EXE or download from our web site.
STEP 3. Download and make a copy of the latest BIOS for 770 SERIES motherboard series from the
web site to your boot disc.
STEP 4. Insert your boot disc into A:,
Start the computer, type "Awdflash A:\xxxxxx.BIN /SN/PY/CD/CH/WB/CC/R"
xxxxxx.BIN is the file name of latest BIOS
SN
means
PY
means
CD
means
CH
means
WB
means
CC
means
R
means
STEP 5. Type Enter to update and flash the BIOS, then the system will restart automatically.
4-2 Trouble Shooting
Problem
No power to the system to the all power light
don't illuminate, fan inside power supply doesn't
turn on.
System inoperative. Keyboard lights are on ,
power indicator lights are lit, and hard drive is
spinning.
System doesn't boot from hard disk drive, can be
booted from optical drive.
System only boots from optical drive .Hard disk
can be read and applications can be used but
booting from hard disk is impossible.
Screen message says "Invalid Configuration" or
"CMOS Failure"
Can not boot system after installing second hard
drive.
Chapter 4
don't save existing BIOS data
renew existing BIOS data
clear DMI data after programming
update HOLE
always programming BootBlock
clear existing CMOS data
restart computer
Solution
1. Make sure power cable is security plugged in.
2. Replace cable. 3. Contact technical support.
Using ever pressure on both ends of the DIMM ,
press down firmly until the module snaps into
places.
1. Check cable running from disk to disk
controller board. .Make sure both ends are
securely plugged in, check the drive type in the
standard CMOS setup. 2. Backing up the hard
drive is extremely important .All hard disks are
capable of breaking down at any time.
1. Back up date and applications files. 2.
Reformat the hard drive. Reinstall applications
and date using backup disks.
Review system 's equipment .Make sure correct
information on is in setup.
1. Set master /slave jumpers correctly. 2. Run
SETUP program and select correct drive types.
Call the drive manufacture for compatibility with
other drives.
12
click OK)
