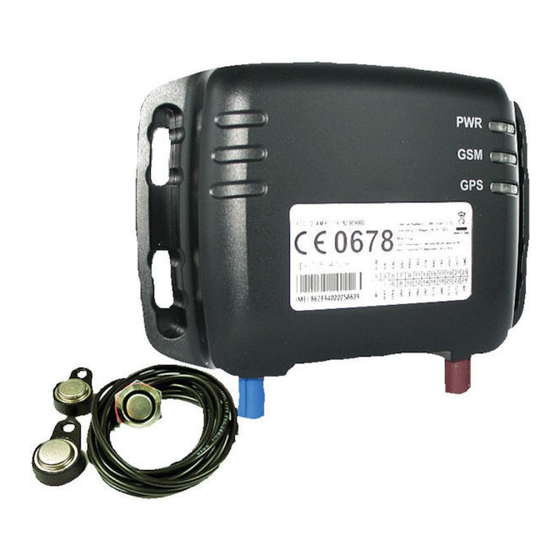
12trace GeoChaser Control Посібник користувача - Сторінка 6
Переглянути онлайн або завантажити pdf Посібник користувача для GPS 12trace GeoChaser Control. 12trace GeoChaser Control 8 сторінок.
Також для 12trace GeoChaser Control: Посібник (9 сторінок), Посібник користувача (7 сторінок)

Depending on the settings, different buttons are hidden or expanded this depending on whether
the button is relevant or not.
Click on
Settings
At the (Basic) institutions we distinguish 4 settings, namely:
•
Timetrace: This is the time interval between 2 locations
•
Geo Motion Live Tracking: This is the interval of locating. Also it possible to also
respond to a change of course. You switch the km-administration option are the other
settings here for defined.
•
Geo Fence: The setting disables a virtual fence in. With the button next to it you can
set where this fencing should stand and how big it should be.
•
Alarm: Here you can switch on/off different alarms. There are a few alarms that
default turned on.
Click on
advanced settings
In addition to the basic settings, there are also advanced settings. This allows you to optimize
the functioning of your GeoChaser. You can find the following settings:
•
Automatic control: Specifies that the GeoChaser monitor 12Trace on missed
communications, these alerts you will receive via email.
•
External connections: Your GeoChaser offers possibilities to communicate with
peripherals. There are different settings here.
•
Change personal data: Specifies, by name, and the attribute of your GeoChaser
change.
•
Product information: it shows product information and you are able to remove de data
history.
Please note: If you change a setting and click ' save ' there will be a pink clock appear behind the
changed setting. This means that the setting has not yet been sent to the GeoChaser. The next
time this will happen if the GeoChaser connect to the 12Trace website (for example, at a location
update). Using the [current location retrieval] changed settings will be immediately active.
8. Km-administration
For using the option kilometres administration it is important the km administration setting in the
basic settings Geo Motion Live Tracking is checked. These settings are essential to accurately
keep track of the mileage. When this option is checked the button changes to "Navi list overview"
on the main screen to "km-administration". After clicking this button appears the km
administration screen.
At this screen you can find the locations one by one. Note: this may take several minutes
because the locations from google maps. By default, rides and business classified with a driver
from the last ride. In the private column could you share private kilometers of the business trip. It
is also possible to have a note for the ride and the driver. You must then save the data with the
English V1.0
Page 6 of 8
laatste wijziging: 07-8-2018
