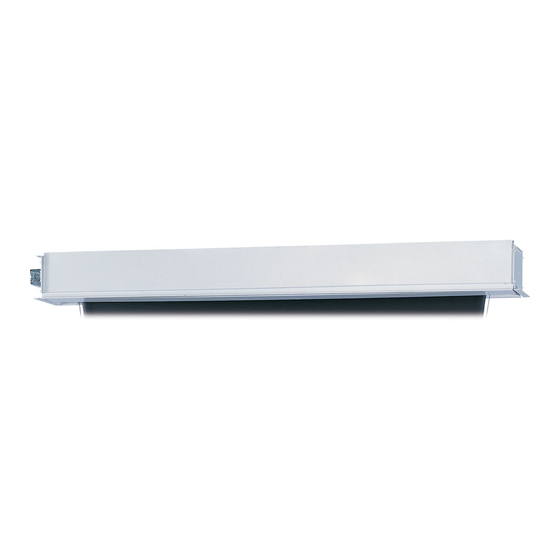
Da-Lite ADVANTAGE ELECTROL Інструкція з експлуатації - Сторінка 2
Переглянути онлайн або завантажити pdf Інструкція з експлуатації для Проекційний екран Da-Lite ADVANTAGE ELECTROL. Da-Lite ADVANTAGE ELECTROL 12 сторінок. Tensioned large
Також для Da-Lite ADVANTAGE ELECTROL: Інструкція з експлуатації (12 сторінок), Інструкція з експлуатації (12 сторінок), Посібник інсталятора (2 сторінок), Інструкція з експлуатації (4 сторінок), Інструкція з експлуатації (16 сторінок)

Important Safety Instructions
When using your video equipment, basic safety precautions
should always be followed, including the following:
1.
Read and understand all instructions before using.
2.
Position the cord so that it will not be tripped over, pulled,
or contact hot surfaces.
3.
If an extension cord is necessary, a cord with a current rating
at least equal to that of the appliance should be used. Cords
rated for less amperage than the appliance may overheat.
4.
To reduce the risk of electric shock, do not disassemble this
appliance. Contact an authorized service dealer when repair
work is required. Incorrect reassembly can cause electric
shock when the appliance is used subsequently.
5.
The use of an accessory attachment not recommended
by the manufacturer may cause a risk of fire, electric shock,
or injury to persons.
Tools Required for Installation
3/4" Open Wrench
or Socket Driver
2
1/8" Hex Key
(included)
Pre-Installation
1.
Carefully unpack case from shipping crate.
2.
Set aside the Installation Kit. Items inside will be used during
installation.
3.
Make sure to recheck measurement of case for proper
installation clearance.
4.
Remove any protective foam from case.
5.
If necessary. adjust hanger brackets with a 3/4" open wrench
or socket driver.
Case Installation
1.
The case provides multiple attachment points for bolts,
cables, or threaded rod. Page 4 shows threaded rod
installed. The variable position-mounting bracket may be
located anywhere along the length of the case. It is
recommended to keep the brackets spaced evenly enough
to distribute the weight of the screen. One mounting bracket
is required for every 4' of case length.
2.
Tighten bolts until trim flange is flush with ceiling.
NOTE: For proper operation, screen assembly must be level
after installation.
3.
Remove 2 screws to open junction box. Install electrical
connections that apply to your unit. Make sure to review the
wiring diagram for proper hook up. Replace junction box
cover and secure with 2 screws.
NOTE: Please Note: Motor Operator Projection Screen
Models LADT, LADDT, LAD and LADD must be installed in
accordance with the requirements of the Local Building
Codes, the Canadian Electrical Code (CEC), CAN/CSA C22.1
and the National Electric Code (NEC), NFPA 70. An
appropriate disconnect device shall be provided as part of
the building installation.
If your case was ordered in advance of the screen and roller
assembly, your installation is now complete. Continue to
step 4 if your Tensioned Large Advantage Electrol was
ordered as a complete unit.
4.
Carefully remove paper and tape from roller assembly
CAUTION! Do not use a knife or sharp object to cut tape;
you will damage the screen. Pull orange string.
5.
Use supplied 1/8" hex key to remove silver shipping brackets
attached to slat and screen case.
6.
Test installation by running screen up and down a few times.
Be prepared to stop screen should any objects obstruct the
movement of the screen. To prevent damage to the motor,
the standard duty cycle is 1 minute on and 3 minutes off.
