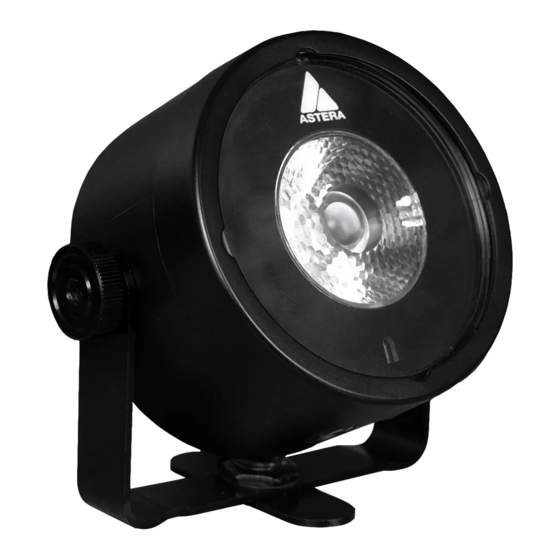
Astera Lightdrop AX3 Посібник користувача
Переглянути онлайн або завантажити pdf Посібник користувача для Освітлювальне обладнання Astera Lightdrop AX3. Astera Lightdrop AX3 2 сторінки.
Також для Astera Lightdrop AX3: Швидкий старт (2 сторінок), Посібник користувача (12 сторінок)

Lightdrop™
AX3
USER MANUAL
CONTENTS
-Lightdrop™
-Di usor Dome
-Charger
-Hooks (x3)
-Rubber Feet (x4)
-Bracket
-Rubber Socket Plug
-User Manual
Control Methods
Press the ON/OFF button for 1-2 sec. to turn it on or o . Once
on, press the ON/OFF button for 2.5 sec. to place into BLUE
MODE (stop pressing when you see ashing blue). When in
BLUE MODE, a rm tap on the ON/OFF button will scroll
through the colors being displayed. To choose a color, press
the ON/OFF button for 2 sec. To FACTORY RESET, press the
ON/OFF button for 5 sec. until the xture shows red color.
To use Astera's ARC1 remote control; point at your lights
and press your chosen e ect, color, speed, or brightness.
Astera's ARC2 remote control and Android application, the
AsteraApp™, can group many lights together, address
individual lights or groups of lights and send complex
e ects to all lights in range. For additional information refer
to the manual and quickstart guide for the ARC2 and ART6
at
www.astera-led.com/downloads
Connect an ART3 (Wireless DMX Transmitter) to your DMX
desk to send wireless DMX signals to the AX3. You can set
the AX3's DMX address from any Astera RF remote controller.
The AX3 can also be controlled by CRMX Wireless DMX, which
also supports W-DMX (from Wireless Solutions). The pairing of
AX3 to Transmitter is done automatically. To unpair, simply do
a FACTORY RESET (as indicated above). For additional
information, refer to the respective manufacturer's manual.
Uses
(a)
Manual Version: 1.0
Date of Issue: 15/07/14
Key Functions
Screw Threads
for Hooks
Rubber Feet
Bracket Adjustor
(b)
(c)
Magnet
Tilt-Wallwash
Adjustor
Underside
ON/OFF Button
Charging Socket
Side ON/OFF
Bracket
Button
(d)
(b) Use as a angled spotlight
hole in the center of bracket
and a x to tables, truss etc.
(e)
Assembly
(a) Attach di usor dome;
place inside PE objects
with use of the bracket
or attach truss clamp into
(c) Use as a wallwasher by
extending the tilt thread
(d) Attach the hooks and
hang from the ceiling
(e) Use the magnet and
place underneath tables
