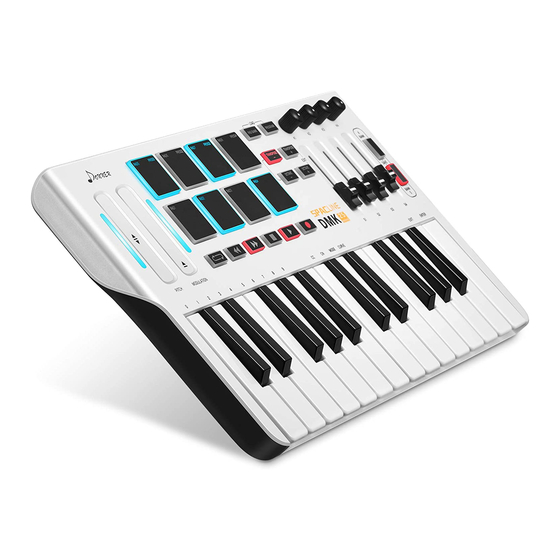
Donner SPACLINE DMK 25 Посібник користувача - Сторінка 6
Переглянути онлайн або завантажити pdf Посібник користувача для Музична педаль Donner SPACLINE DMK 25. Donner SPACLINE DMK 25 8 сторінок. Mini midi keyboard
Також для Donner SPACLINE DMK 25: Посібник (9 сторінок)

Editing the Touch Bar
You can set various assignments for the Pitch and Modulation,including its CC(0-127) and CN(0-16)
message.(The operation method is the same as the pad)
Editing the Transport Button
You can set various assignments for each of the six transports buttons, including its CC(0-127) 、 CN(0-16) message and
Mode.(The operation method is the same as the pad)
Tip: See Auto-Populating the Transport to learn how to quickly apply common "patterns" of assignments to the knobs and
sliders, sparing you the time of having to select each assignment manually.
Editing the Pedal
You can set various assignments for the Pedal, including its CC(0-127) and CN(0-16)
message.(The operation method is the same as the pad)
Editing the Keyboard
You can set the keyboard's octave and transposition.
To transpose the keyboard, click the Transpose field under the keyboard, and type the desired value (-12 to +12
©
semitones). A transposition of 0 means the keyboard is not transposed. For reference, the leftmost key will display its note
value to indicate the transposition.
To change the keyboard's octave, click the Octave field under the keyboard, and type the desired value (-4 to +4
©
octaves) (this is the same as using your DMK25 mini's Octave buttons). An octave of 0 means the keyboard is at its
center/default octave. For reference, the leftmost key will display its note value to indicate the octave shift.
To select the MIDI channel of the keyboard send their messages, click the Channel field and type the desired MIDI
©
channel number (1-16).
The Keyboard has four kinds of curves, as shown in the figure. The horizontal axis represents the force you press, and the
©
vertical axis represents the force output to the computer.
Curve 0
Curve 1
4
Curve 2
Curve 3
