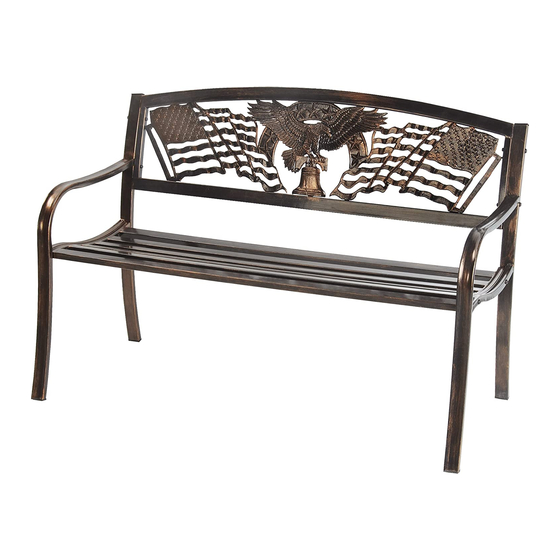
Astonica 50104263 Інструкція з експлуатації - Сторінка 2
Переглянути онлайн або завантажити pdf Інструкція з експлуатації для Внутрішнє оздоблення приміщень Astonica 50104263. Astonica 50104263 2 сторінки. Freedom bench by r.a. guthrie

PARTS & HARDWARE LIST
PART #
A
Back
B
Seat
C
Right Leg
D
Left Leg
E
Screw, M6 x 50mm
F
Screw, M6 x 68mm
G
Hex Nut, 6mm
H
Flat Washer, 6mm
I
Plastic Nut Cover
J
Hex Key
K
End Cap (Pre-Installed)
L
Foot Cap (Pre-Installed)
Parts Detail
K
C
L
E
F
G
Carefully remove the contents from the package. If any parts are missing do not
attempt to use the product until they have been obtained and correctly installed.
NOTE: This product is intended for residential, non-commercial use.
DESCRIPTION
K
A
B
L
H
I
QUANTITY
1
Figure 1
1
1
1
4
4
8
F
8
8
1
2
F
4
E
E
Right
D
CAUTION: Do not over tighten fasteners.
Note: Identify the right and left legs by locating the round white label with the letters "C" and "D"
on each. From a seated position, the left leg (D) crossbar has an indention on the inside of
the crossbar. The same is true for the right leg (C).
1. (SEE FIGURE 1) Attach seat (B) to left leg (D) by aligning holes in the leg crossbar with
corresponding holes in seat frame. Using hex key (J) secure screws (E), flat washers (H) and
hex nuts (G). Attach seat (B) to right leg (C) by aligning holes in the leg with corresponding
holes in seat frame. Using hex key (J) secure screws (E), flat washers (H) and hex nuts (G). Do
not fully tighten fasteners.
J
2. Slide back (A) between legs (C/D) and align holes. Insert screws (F) through holes. Using hex
key (J) secure with flat washers (H) and hex nuts (G).
3. Place bench upright on a flat, level surface and tighten all fasteners. Slide plastic nut covers (I)
over all exposed nuts.
ASSEMBLY INSTRUCTIONS
G
H
I
A
B
I
G
H
C
G
H
I
F
D
H
G
I
Left
F
E
E
