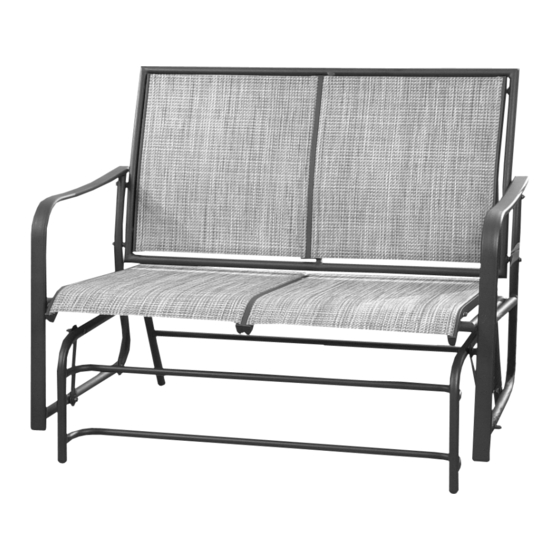
Astonica 50105045 Інструкція з монтажу - Сторінка 2
Переглянути онлайн або завантажити pdf Інструкція з монтажу для Внутрішнє оздоблення приміщень Astonica 50105045. Astonica 50105045 2 сторінки. Tosca 2-seat glider

PARTS & HARDWARE LIST
PART #
DESCRIPTION
A
Chair Back
B
Chair Seat
C
Chair Base
D
Side Frame
E
Glider Arm
F
M6 x 40L Screw
G
M6 x 45L Screw
Flat Washer
H
I
Lock Washer
Nut
J
Screw Cover
K
Nut Cover
L
M
Hex Wrench
Allen Wrench
N
A
C
F
G
J
M
Carefully remove the contents from the package. If any parts are missing do not attempt to use the product
until they have been obtained and correctly installed.
IF YOU HAVE ANY PROBLEMS OR QUESTIONS CONCERNING THIS PRODUCT, DO NOT RETURN IT TO YOUR
RETAILER. CONTACT CUSTOMER SERVICE AT
1-888-424-3354.
QUANTITY
1
1
1
2
4
8
8
16
8
8
16
8
1
1
B
E
D
H
I
L
K
N
Caution: Do not over tighten fasteners.
ASSEMBLY INSTRUCTIONS
1. (See Figure 1) Attach one of the side
frames (D) to chair seat (B) with screws (G)
and flat washers (H). Repeat for the other
side frame (D). Do not tighten fasteners.
2. (See Figure 2) Attach chair back (A) to side
frames (D) with screws (F) and flat
washers (H). Do not tighten fasteners.
3. (See Figure 3) Attach four glider arms (E) to
the outside edge of chair base (C) with
screws (G), flat washer (H), lock washer (I)
and hex nut (J).
4. (See Figure 4) Position Chair assemble over
chair base (C) and attach four glider arms (E)
to bottom rails of side frames (D) with
screws (G), flat washer (H), lock washers (I)
and hex nut (J).
5. Tighten all fasteners securely. Insert screw
covers (K) into all exposed screw heads. Slip
nut covers (L) over all exposed hex nuts.
FIGURE 1
H
G
B
G H
D
FIGURE 2
D
F H
A
FIGURE 3
G
C
H
E
I
J
FIGURE 4
D
D
H
G
C
J
I
D
