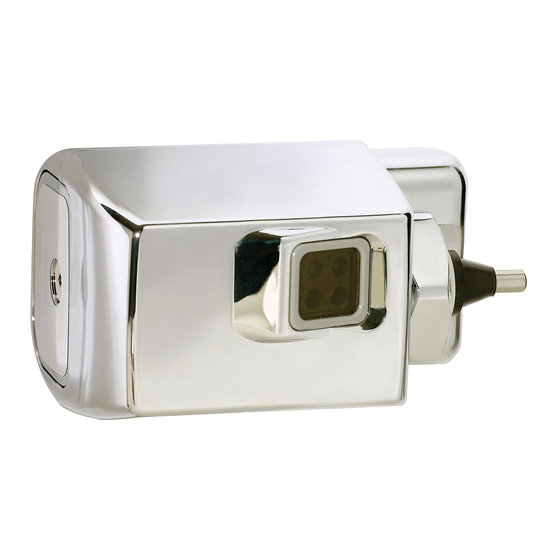
Air Delights AutoFlush Інструкція з монтажу - Сторінка 2
Переглянути онлайн або завантажити pdf Інструкція з монтажу для Туалети Air Delights AutoFlush. Air Delights AutoFlush 4 сторінки. For urinals & toilets

1
INSTALLATION
Using the supplied collar wrench, remove han-
dle from flush valve.
Note: On some flush valves with
a faulty air vent, or recently flushed valve, be
prepared to collect a small amount of water
with a rag or sponge placed under the handle.
Place collar gasket into collar nut and attach
the Autoflush unit where the handle was
removed.Tighten collar nut with supplied col-
lar wrench.
Note: Save handle in the event you wish to
reuse for service of AutoFlush.
2
ACTIVATION
Using supplied battery compartment wrench, remove battery compartment from
the AutoFlush unit.
Load batteries into compartment tray (note position of bat-
-
-
+
+
teries in tray), and reinstall battery tray into the AutoFlush
unit.
-
-
+
+
Secure tray with battery compartment wrench.The last
three turns of the wrench will activate the AutoFlush unit.The Purinel NoTouch
AutoFlush System is now operational.
Your AutoFlush unit comes preset from the factory. If special circumstances require
adjustment of the activation distance, see Appendix A—Adjusting your AutoFlush.
The AutoFlush unit has a 7 minute start-up sequence in which the Object Lock
Sensor will flash the User-In-View green L.E.D. continuously as long as a user is in
view. After the start-up sequence is completed and when the Object Lock Sensor has
a user in view, the User-In-View green L.E.D. will flash only 3 times after 5 seconds
delay.This delay prevents needless flushes when someone walks by.
Collar Nut
Collar Gasket
Remove Battery Compartment
Install Battery Compartment
Object Lock Sensor
-
+
-
+
User-In-View LED (Green)
Object Lock Sensor
-
-
+
-
+
+
User-In-View LED (Green)
