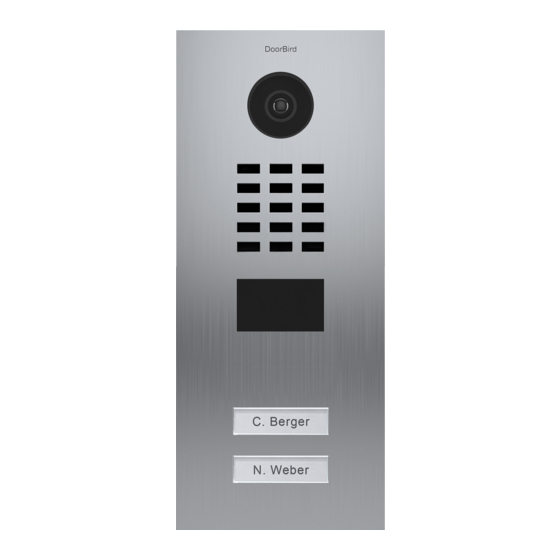
DoorBird D21 Series Посібник з підключення - Сторінка 5
Переглянути онлайн або завантажити pdf Посібник з підключення для Блок управління DoorBird D21 Series. DoorBird D21 Series 6 сторінок. Display module and keypad with 16 keys
Також для DoorBird D21 Series: Посібник (4 сторінок), Посібник (2 сторінок), Посібник із швидкого старту (2 сторінок), Встановлення (2 сторінок), Посібник із швидкого старту (2 сторінок), Посібник (2 сторінок)

DoorBird Connect
Synology
9.
In the action settings, choose your DoorBird IP Video Door Station for the
"Action"
to
"Start action rule
Set the Duration to your preferred value and click "Next".
10.
Either change the schedule for this action to your preference, or simply leave it at its default value.
11.
Click
"Finish"
to finish adding the action rule.
4. SETTING UP EVENT-BASED RECORDING IN THE DOORBIRD IP VIDEO DOOR
STATION APP
1.
Open the DoorBird App and log into the administration area under
using the administrator user and password credentials from the
that was shipped with your DoorBird IP Video Door Station.
2.
Scroll down to the
"Favorites"
3.
Click "ADD", to add a new HTTP(S) call.
4.
Devise a name for this HTTP(S) call, e.g. "Synology".
5.
In the
"URL"
field, enter the action URL you were presented with in step
and
{password}
with your Synology account name and password (without the { }-braces! ),
All companies, logos and product names are registered trademarks of the respective companies.
Errors and omissions excepted – Last Update 10/2020 - Copyright © 2020 - Bird Home Automation GmbH – www.doorbird.com
recording".
section and tap on
"HTTP(S)
5
"Device"
"Settings → Administration"
"DIGITAL PASSPORT"
Calls".
3.8.,
replacing
field and set
document
{account}
