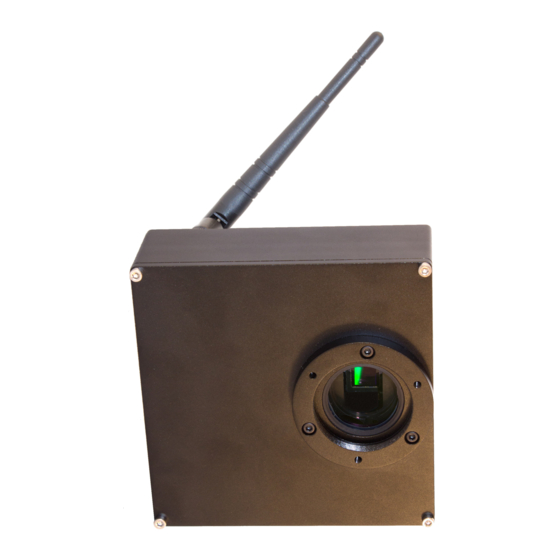
Astrel Instruments AST183X Початок роботи - Сторінка 12
Переглянути онлайн або завантажити pdf Початок роботи для Цифрова камера Astrel Instruments AST183X. Astrel Instruments AST183X 19 сторінок. Mounting filters
Також для Astrel Instruments AST183X: Покрокове керівництво користувача (4 сторінок)

Astrel Instruments
Tutorial: from power up to the first photo
This tutorial will guide you in the process of making your first photo with your camera. We will
use Windows in Connected mode: most of the steps are the same also with Linux in Connected
mode, while many steps are not needed in Stand Alone mode.
STEP 1: evacuate the camera
• Insert the pump connection tube into the vacuum pump nose
• Screw the pump to the camera's valve
• Pump the air until 25 inHg is reached: if the vacuum level keeps going back to 0, push
the pump nose as much as possible inside the tube and screw the tube as much as
possible inside the valve, until the vacuum is retained: this means that the pump is
correctly connected to the camera
• Open the vacuum valve (the handle should be perpendicular to the camera back)
• Pump the air until a level of 25 inHg vacuum is reached
• Close the valve
• Disconnect the pump and remove the tube
• The camera is now ready for being cooled below freezing temperature and the vacuum
should be retained to an acceptable level for at least 2 days
• You can check the vacuum level connecting the pump to the camera, pumping the air
until a level of 25 inHg vacuum is reached with the vacuum valve closed to remove the
air inside the connecting tube, and then opening the vacuum valve and reading the
vacuum level.
• Note: the level of vacuum of 25 inHg could not be possible to reach on high altitude
locations. In this case pump the air until it can't get any lower
STEP 2: power up the camera
• Plug the WiFi Antenna to the camera and the PC
• If needed plug any USB device and hub to the USB ports
• Plug the power supply
After booting (usually after few secons) the camera emits a weak sound meaning that it is ready
for operation and waiting for VNC connection.
STEP 3: connect to the camera
Getting Started
Remember to close the valve before disconnecting the pump
12/19
AST183-X
rev A
