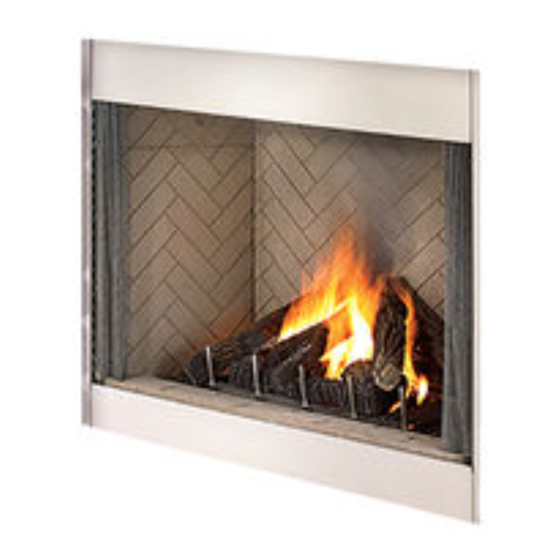
Astria Fireplaces Polaris42ZEN Інструкція з догляду та експлуатації - Сторінка 8
Переглянути онлайн або завантажити pdf Інструкція з догляду та експлуатації для Внутрішній камін Astria Fireplaces Polaris42ZEN. Astria Fireplaces Polaris42ZEN 18 сторінок. Outdoor decorative gas fireplace

Log Placement
WARNING
• LOGS GET VERY HOT AND WILL
REMAIN HOT UP TO ONE HOUR AF-
TER GAS SUPPLY IS TURNED OFF.
HANDLE ONLY WHEN LOGS ARE
COOL. TURN OFF ALL ELECTRICITY
TO THE APPLIANCE BEFORE YOU
INSTALL GRATE AND LOGS.
• This appliance is noT meanT To
BURN WOOD. ANY ATTEMPT TO DO
SO COULD CAUSE IRREPARABLE
DAMAGE TO YOUR APPLIANCE
AND PROVE HAZARDOUS TO YOUR
SAFETY.
• The size and posiTion oF The
LOG SET WAS ENGINEERED TO GIVE
YOUR APPLIANCE A SAFE, RELIABLE
AND ATTRACTIVE FLAME PATTERN.
ANY ATTEMPT TO USE A DIFFERENT
LOG SET IN THE FIREPLACE WILL
VOID THE WARRANTY AND WILL
RESULT IN INCOMPLETE COMBUS-
TION, SOOTING, AND POOR FLAME
QUALITY.
• Volcanic sTone wiThin The
BURNER CAN "POP" FOR THE FIRST
FEW FIRES. WIND BORNE DEBRIS
MAY ALSO ENTER THE FIREPLACE
INEXPEDIENTLY. IN HIGH WIND
CONDITIONS, OPERATE THE AP-
PLIANCE WITH THE SCREENS OR
DOORS CLOSED.
CAUTION: NEVER OPERATE THE FIREPLACE
WITHOUT THE VOLCANIC STONES IN THE
BURNER PAN. PROLONGED USE WITHOUT
THE ROCK IN PLACE WILL OVERHEAT THE
PAN AND CAUSE THE FIREPLACE TO SHUT-
OFF AUTOMATICALLY.
After verifying that the fireplace operates
properly, replace the cover and set the bottom
refractory components in place.
Use two (2) bags of volcanic stone to fill the
bottom of the burner tray to completely cover
the burner tube. Level the rock evenly.
Place the rear log approximately centered as
shown in Figure 7.
Place the base log approximately as shown
in Figure 8.
The remaining logs can be placed across the
rear and base log approximately as shown in
Figure 9. The exact position of these logs is
not critical. Due to the nature of an outdoor
environment, the flame will never be strictly
controlled. You may need to reposition the
logs to get the effect you find most desirable.
8
Rear Log
Figure 7
Base Log
Figure 8
Top Center Log
Top Left Log
Figure 9
NOTE: DIAGRAMS & ILLUSTRATIONS NOT TO SCALE.
Top Right Log
