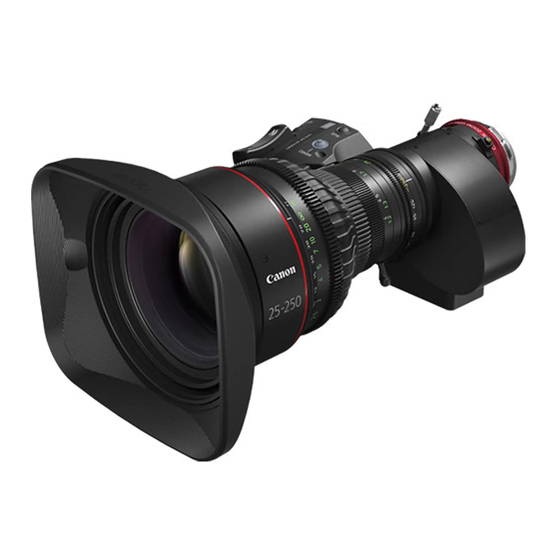
Canon CN10x25 IAS S/E1 Посібник з експлуатації - Сторінка 28
Переглянути онлайн або завантажити pdf Посібник з експлуатації для Об'єктив камери Canon CN10x25 IAS S/E1. Canon CN10x25 IAS S/E1 34 сторінки. Zoom lens

- 1. Fcc Regulations
- 2. General Safety Information
- 3. Handling the Product
- 4. Maintenance and Inspection
- 5. How to Mount
- 6. Available Accessories
- 7. Dimensions of Parts
- 8. Iris Gain Adjustment
- 9. Mode Setting
- 10. Zoom Operation
- 11. Focus Operation
- 12. Iris Operation
- 13. Extender Operation
- 14. Macro Operation
- 15. Switch Operations
- 16. Product Specifications
6 HOW TO ATTACH AND DETACH THE DRIVE UNIT
6-2. HOW TO ATTACH THE DRIVE UNIT
Cap
Drive unit fixing
screws (x3)
Serial No.
Positioning pin
Connector
1
Detach the cap from the contact on the lens body, fix the
cap on the projection on the main body and remove the
drive unit fixing screws (3) mounted on the lens body.
2
Check that the serial numbers of the lens body and the
drive unit match.
NOTE
1. If the lens and drive unit are used when the se-
rial numbers do not match, the error message
appears on the display.
2. If the serial numbers do not match, malfunction
may occur.
3
Check that there are no foreign matters in the three drive
unit fixing screw holes in the lens body.
NOTE
If the drive unit is fixed when there is a foreign mate-
rial in a screw hole, the lens body may be damaged.
4
Fit the connector of the drive unit into the connector of
the lens using the positioning pin of the drive unit as a
guide, and while pushing the drive unit to the lens body,
fix them temporarily by lightly tightening the three fixing
screws that were inserted into the lens body.
NOTE
Use the 6mm-long drive unit fixing screws that were
inserted into the lens body and do not use unspeci-
fied screws.
E22
