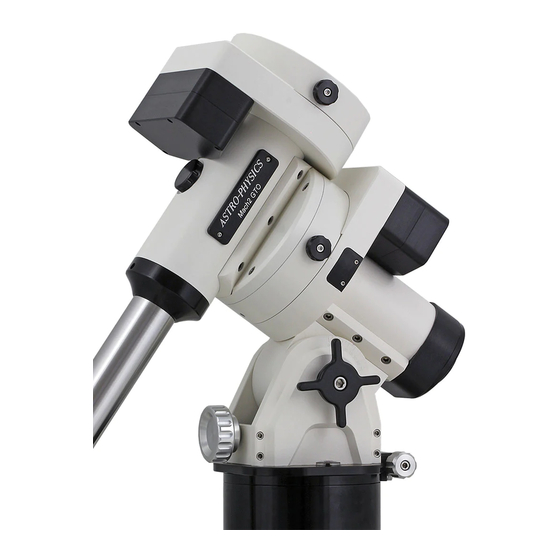
ASTRO-PHYSICS 900 German Equatorial Посібник - Сторінка 2
Переглянути онлайн або завантажити pdf Посібник для Аксесуари ASTRO-PHYSICS 900 German Equatorial. ASTRO-PHYSICS 900 German Equatorial 3 сторінки. Polar alignment telescope and illuminator (pasill)
Також для ASTRO-PHYSICS 900 German Equatorial: Посібник із швидкого старту (2 сторінок), Посібник (12 сторінок)

Installation and Adjustments
We recommend that you install and adjust your polar alignment telescope in daylight, without the telescope and counterweights,
following the instructions in this section. Once the reticle is properly adjusted so its center circle is mechanically and optically aligned
with your mount, the alignment will remain stable, barring any strong shock to your mount.
1.
Adjust the diopter: Loosen the diopter adjustment locking ring and turn eyepiece until the reticle is sharply in focus.
Tighten the locking ring to lock the eyepiece in place.
2.
Adjust the focus: Loosen the focusing adjustment locking ring and turn the objective tube until you get a sharply
focused image of a distant object. Tighten this locking ring to lock the objective tube in place.
3.
Remove the sight hole cover on the declination axis and rear cap (or encoder adapter and housing) on the polar
axis.
4.
Turn the declination axis until the hole in
the shaft is aligned with the sight hole.
You will be able to see through the mount
along the line of vision represented by the solid
line in the diagram on this page.
5.
Thread your polar alignment telescope
into the rear of the polar axis.
6.
Using the mount's azimuth and altitude
adjustment knobs, aim your polar axis
telescope at a distant object, such as the
top of a telephone pole, placing it within
the center circle of the reticle. Please
refer to the section pertaining to altitude
and azimuth adjustments in your mount
manual for specific details. Tighten the
altitude locking knob to hold the mount in
position.
7.
Turn the right ascension axis while
looking through the polar axis telescope.
You will see the distant object moving
around and out of the central circle.
8.
Using the Allen wrench provided, adjust the polar alignment scope's aligning adjustment screws until the distant object is
again within the center circle of the reticle. You are adjusting the polar alignment scope to be orthogonal with your mount.
9.
Continue repeating these steps until the distant object does not move out of the central circle when the right
ascension axis is turned. Your polar axis telescope is now aligned with your mount's polar axis.
Using your Polar Alignment Telescopes
1.
Set up your mount according to the instructions in this manual including your rough polar alignment (refer to
the manual for the mount).
2.
Attach the illuminator to the polar axis telescope by removing the screw and threading in the illuminator.
Please note that the illuminator requires batteries (see specifications). Use the "On/Off" switch to adjust
brightness.
3.
Turn the declination axis until the hole in the axis is aligned with the polar axis holes. You will be able to see
through the polar axis telescope along the line of vision represented by the solid line in diagram on this
page.
