ASTROMECHANICS ASCOM Canon Lens Controller Mark II Посібник - Сторінка 2
Переглянути онлайн або завантажити pdf Посібник для Аксесуари для фотоапаратів ASTROMECHANICS ASCOM Canon Lens Controller Mark II. ASTROMECHANICS ASCOM Canon Lens Controller Mark II 9 сторінок.

STEP 1: Device assembly
Assembly process is easy. Choose your controller and use the links below:
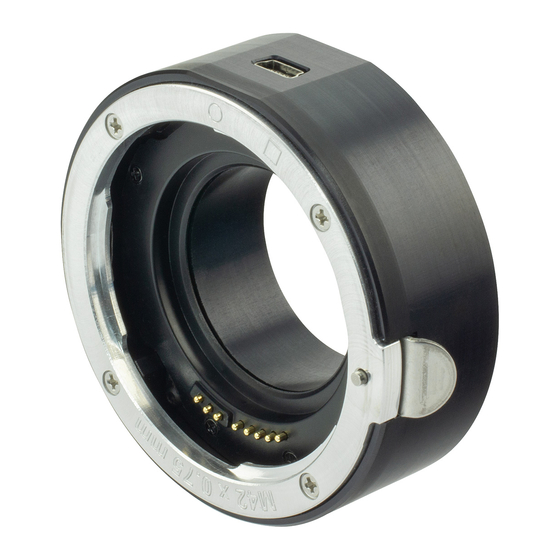
M42 x 0.75 mm adapter for APS-C camera
M54 x 0.75 mm adapter for APS-H / FF camera
Special adapter for SBIG STL series camera
Special adapter for QSI camera with WS(-8) cover
Special adapter for FLI PL/ML camera without FW
Special adapter for Moravian G4 camera
Special adapter for ZWO ASI6200MM camera with FW
These documents contain all the necessary information about mechanical drawings, connection methods
and application notes.
STEP 2: Connecting to your computer
Mount ASCOM Lens Controller on your camera. Achieve a secure fit, the connection should be
tough and have no backlash.
Attach your lens. Rotate the lens clockwise until it locks. To remove the lens, press and hold the lens
lock and rotate the lens counterclockwise. Attach and remove your lens
disconnected!
Note: Some thin adapters (QSI WS, Moravian G4) don't have a lens lock because its use will be
inconvenient due to the small thickness of the adapter. In this case, rotate the lens all the way. Don't
worry, the bayonet's petal will prevent it from scrolling further than the correct position.
Set the MF/AF switch to AF. Set the focal range switch to the maximum value, for example 1.5 m-∞.
Connect ASCOM Lens Controller to your computer using USB cable. Since May 2020 all devices use
a micro USB connector with a single wire to a PC (no additional power connector).
Note: When testing the ASCOM Lens Controller, first connect it directly to your computer. Then you
can test it with various USB hubs. For proper operation, prefer to use active (powered) USB hubs.
Computer connection
only when the USB cable is
