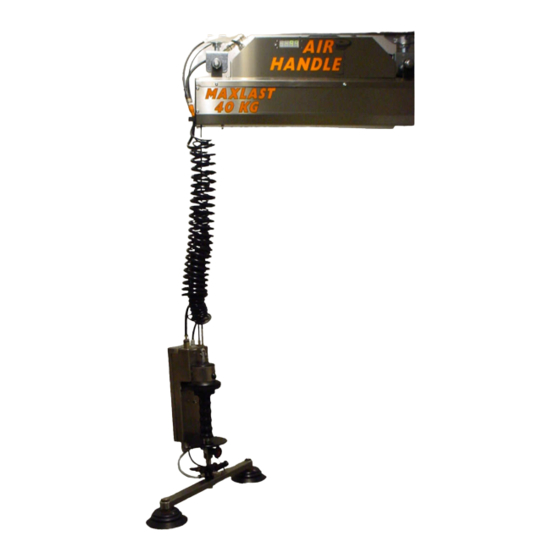
AIR HANDLE AHR Посібник користувача - Сторінка 8
Переглянути онлайн або завантажити pdf Посібник користувача для Промислове обладнання AIR HANDLE AHR. AIR HANDLE AHR 14 сторінок. Excluding gripper

_________________________________________________________________________________________________
Beware of crushing hazards when working near machinery!
Employers are obliged to ensure that the equipment is used by skilled personnel and that inspections and maintenance
of the equipment is carried out as required.
PRODUCT BASED SECURITY
The equipment can only be used for what it is intended to.
•
Maximum load – see the document "Customer specification AHR" – see maximum load for gripper in the
•
manual for the gripper (if such is delivered).
Do not ever leave the system with suspended loads.
•
SAFETY CONTROL OF THE EQUIPMENT
Before daily use...
Always check that the equipment and it's safety features are intact
•
Check wire wear
•
Check that compressed air and electricity is connected to the equipment
•
Check that the signal hose is properly connected to the maneuver handle
•
Check that the gripper tool is securely connected to the hoist's junction
•
1. Run down the hoist as far as it is possible. Check the wire for wear, do not work with damage wire
2. Fit in the gripper tool to the object that shall be lifted – depending of the gripper tool there are several ways to
continue the safety control...
2.1. Mechanical gripper tool – the gripper consist of a hook, loop or similar, make sure the grip is correct and give
a signal upward with the maneuver handle, the object is now following up or down and can be handled
weightless.
2.2. Gripper tool with grip/release interlocking – the gripper consist of mechanics that can be moved when
activating a electrical push button, ButtonFunction, that is located somewhere on/near the gripper tool
1.
This type of gripper tool often has a LED that is indicating when it is possible to activate the
ButtonFunction button. There is a pressure level, ReleaseOk, and it is only below this level where the
ButtonFunction button can be activated i.e. when the gripper tool has no object (empty – no load) the
LED is lit but when an object is about to be lifted the LED goes out.
2.
Fit in the gripper tool to the object that shall be lifted and press the button for activating grip- or release
function (ButtonFunction).
3.
Carefully give a signal upward with the maneuver handle until the LED goes out.
4.
If the LED is not lit when the hoist's system pressure is below ReleaseOk then the LED is broken / the
cabling is loose in some junction point / the cabling is broken / the input is broken on the controller card.
The interlock is not depending of if the LED is lit or not, the LED is only an indication that it is POSSIBLE to
grip/release, the interlock depends if the hoist's air pressure is over or under ReleaseOk.
2.3. Gripper tool with grip/release and grip ok interlock
1.
Somewhere on the gripper tool there is one or more sensors that shall ensure that the object is
correct fitted to the gripper tool, try now to grip the object but in a way that NOT every grip ok
sensors is activated – this way you will not get a GripOk signal, push the grip button – carefully
give a signal upward with the maneuver handle, when the air pressure in the hoist's system raises
above the level set with ReleaseOk the hoist stops going upward – this is because the GripOk
signal is missing. Check all sensors – these should be connected in serial or AND:ed to ensure
safety.
_________________________________________________________________________________________________
Air Handle e-p AB
Telephone
Fax
E-mail
User manual - Side 8 of 14
AHR excluding gripper
User manual AHR V1.0.docx
Website
