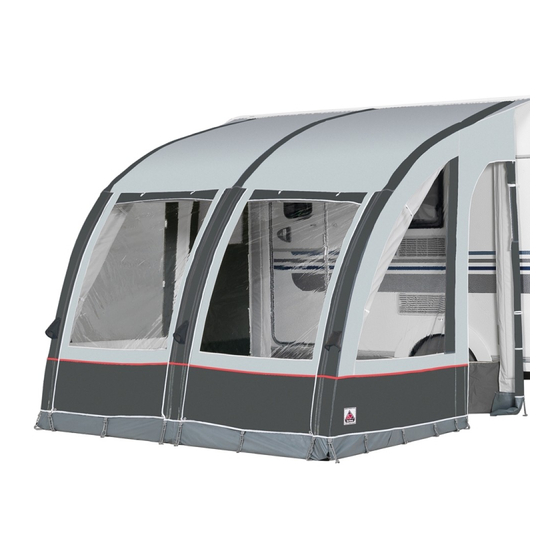
Dorema Contura 440 Інструкція з експлуатації - Сторінка 8
Переглянути онлайн або завантажити pdf Інструкція з експлуатації для Аксесуари Dorema Contura 440. Dorema Contura 440 18 сторінок. Air awning

ERECTING YOUR AIR AWNING
3.5 The valves of the arch shaped air tubes are located on the outside of
the awning. Instead of the Futura Air All Season. The valves of the Futura Air
All Season are located on the inside of the awning. Please ensure the air
inflation valves are screwed on tightly (Finger tight) before inflating.
Next, inflate the air tubes one by one working outwards from the center
valve. It is recommended to push the air tubes into the arch shaped position
as soon as the pressure increases in the air tubes. The double action pump
is equipped with a manometer (Pressure Gauge). Inflate all air tubes up
to a pressure of between 4 to 6 Psi (= 0,3 – 0,4 bar). Remove the pump
inflation tube and seal the valves with the screw-on cap.
3.6 The inflatable roof bars can now be fitted. The roof bars are fixed
between the arch shaped tubes with the use of Velcro. Check if the
complete awning is still standing in a rectangular shape at ground level
and start pegging the awning.
3.7 Ensure all the doors are closed when pegging the Air awning. It is
important to start at the rear, closest to the caravan. The multi position
pegging points allow flexibility. Make sure the awning is square and do not
put too much pressure on the pegging points. Peg the remaining pegging
points, cross pegging the doorways and entrances.
3.8 In order to stabilize the cushion pads which are sewn in parallel to
the caravan wall, the upright legs should be fitted. Place the adjustable
upright leg with the flat end in the pocket located on top of the cushion
pads. Adjust the upright legs to the correct height and secure them with
the sewn in straps.
3.9 Slide the draught skirt into the awning rail at the bottom of the caravan.
3.10 The awning should be guyed using all the guying points. Failure to do
so could result in premature failure.
8
