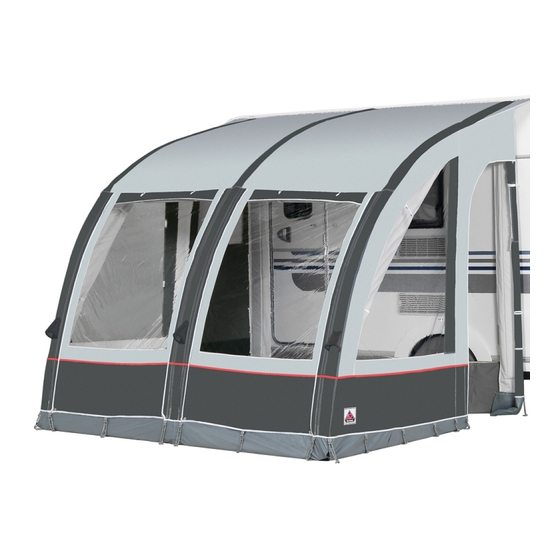
Dorema Futura 330 Air Інструкція з експлуатації - Сторінка 10
Переглянути онлайн або завантажити pdf Інструкція з експлуатації для Аксесуари Dorema Futura 330 Air. Dorema Futura 330 Air 18 сторінок. Air awning

4. LEAKING AIR TUBES
As mentioned before in this instruction, first you need to make sure the
valves are screwed on tightly enough (finger tight!). In case the air tube
loses air slowly, unscrewing the valve and assembling it again is usually the
simplest solution for the leakage. In case one of the air tubes really gets
punctured it can be repaired in a simple way.
(1) Remove the ty-rap from the slider and open the zip.
(2) Remove the transparent air tube from the casing, fit the valve and inflate
the tube with a pump.
(3) Dip the tube under water and trace the leak.
(4) Use the enclosed repair patch in order to close the leak.
(5) Re-fit the air tube back into the casing, assemble the valve on the correct
position, close the zip and ALWAYS secure the slider of the zip with a ty-rap.
Your Dorema dealer can also supply all replacement parts. In case you do
not have a repair patch available, a TEAR-AID repair patch type B can also
be used. Type B is especially suitable for all PVC materials. Such a repair set
is also available at your local dealer.
5. TAKING DOWN YOUR AIR AWNING
It is recommended to take the Air awning down when it is completely dry.
Remove the roof bars and unscrew all the valves. The valves are secured
to the grey casing in order to prevent loss. Only screw the valves back on
when the awning is erected again. Fold or roll up the awning in such a way
that the valves are kept free as long as possible in order to allow the air to
escape.
10
