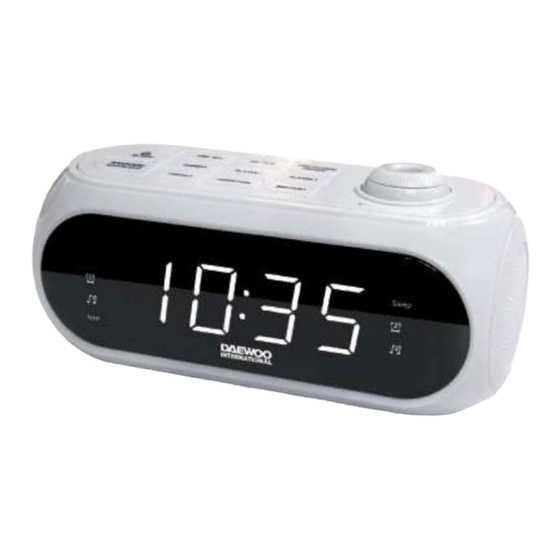
Daewoo International DCP-490 Посібник користувача - Сторінка 9
Переглянути онлайн або завантажити pdf Посібник користувача для Годинник-радіо Daewoo International DCP-490. Daewoo International DCP-490 20 сторінок. Projection clock radio

Place the clock radio only on protected furniture. Avoid direct sunlight and any area
that is exposed to water or moisture.
Plug power cable (15) into electrical outlet with correct voltage. Check rating labels
on the radio.
DO NOT PLUG THE RADIO INTO AN ELECTRICAL OUTLET IF YOU ARE UNSURE
OF THE VOLTAGE.
Unwind the radio antenna (14) on the back of the clock radio. Extend and reposition
the antenna for best radio reception.
CLOCK and ALARM CLOCK OPERATION
Note: The time and alarm times can only be set when the radio is turned o .
SETTING THE TIME AND DAY
1. The digits will ash after connecting power, or press and hold down "TIME SET"
button (3) for approximately 3 seconds until the display ashes.
2. Press "HOUR/TUN-" button (8) repeatedly to change the hour setting.
3. Press "MIN/TUN+" button (11) repeatedly to change the minute setting.
4. Press "TIME SET" button (3) to con rm the time.
SETTING THE ALARM TIME
This clock radio has dual alarms that can be set and used concurrently. The
procedure to set both alarms are the same. Both alarms can either sound the buzzer
or wake up to radio. Follow the instructions below to set alarm time 1.
For alarm time 2, substitute "AL1/VOL-" button (7) with "AL.2/VOL+" button (10)
1. Press "AL1/VOL-" button (7) to view alarm time 1. The digits will ash.
2. Press "HOUR/TUN-" button (8) repeatedly to change the hour setting.
3. Press "MIN/TUN+" button (11) repeatedly to change the minute setting.
4. Press "AL1/VOL-" button (7) once to con rm and digits will stop ashing.
(Note: This will turn on the alarm buzzer.)
ACTIVATING THE ALARM
1. Once the alarm time is set, press " AL1/VOL-" button (7) once for alarm with buzzer
(Indicator A will be on) and twice for alarm with radio (Indicator B will be on).
2. Digits will stop ashing after a short while.
3. Press "AL1/VOL-" button (7) until all indicators o to turn o alarm.
EN
9
