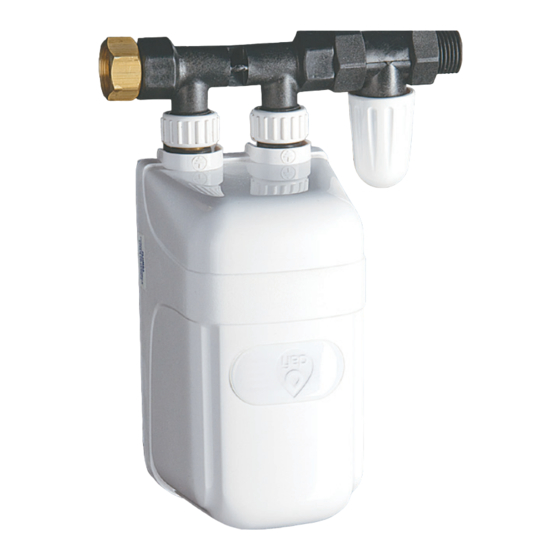
dafi IPX4 Інструкція з кріплення та використання - Сторінка 5
Переглянути онлайн або завантажити pdf Інструкція з кріплення та використання для Водонагрівач dafi IPX4. dafi IPX4 12 сторінок. Electric a flow heater with an open outlet water
Також для dafi IPX4: Інструкція з експлуатації Посібник з експлуатації (13 сторінок)

The heater must be grounded.
Connection to the electrical installation must be performed by
an electrician with the appropriate permissions. The heater may
only be connected to the electrical system performed in
a network TN-S or TN-C-S (acc. 0) of copper wires and a cross-
section corresponding to the rated current of the heater. The
electrical installation must be equipped with a switch or
disconnect all poles from the power source.
Overload protection electrical network when installing electric
instantaneous water heater DAFI should be selected according to the
rated current of the heater shown in the table of parameters.
Warning!
If the power cord is damaged, it should be replaced by a suitable
wire available from the manufacturer or network of authorized
service points.
Any percentage of the voltage drops below the nominal
voltage reduces the efficiency of heating by about 2%, thus
reducing the effect of heating the water.
7. Installation and commissioning
DAFI water heater can be installed with its own battery, with connection
nipples and reducers. When installing the connector and nipples on the
water inlet to the heater it is recommended to install shut-off valve DAFI. If
the valve is not in the kit can be purchased in retail stores.
WARNING! The heater cannot be installed in rooms where the
temperature drops below 1°C.
7.1 Mounting the heater with its own battery
a) For assembly use only key assembly located on the equipment. Prior
to installation, close the main water valve, clean the threads. Thread G½"
body battery with screwed lock nut seal with Teflon tape (Fig. 2), and then
screw it into the shapes derived from the wall so that the two connectors
for attaching the heating unit were directed vertically upwards.
b) Screwing the battery should be careful not to break the thread. Do not
screw the battery with both hands on the dial. The correct way of screwing
the battery shown in Fig 3.
c) The distance between the face of the nut and the fitting should be 1-4
mm. After determining the position and distance of the battery connect nut
tightening it in the direction extending from the wall fitting (Fig. 4).
d) Screw the spout to the battery, screw on the right nipple battery
