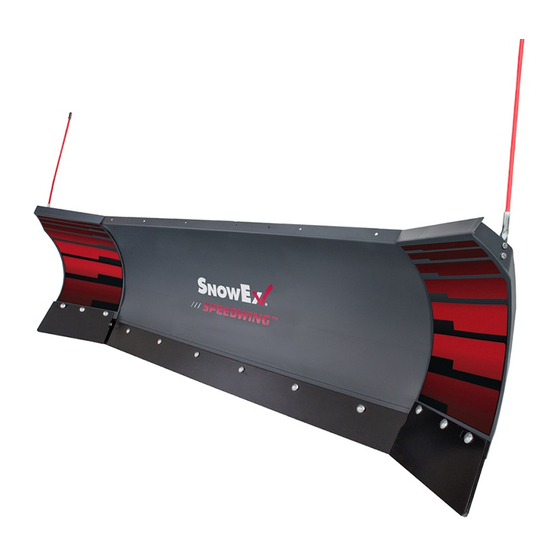
Douglas Dynamics SnowEx Automatixx SPEEDWING 8600 Інструкція з монтажу Посібник з монтажу - Сторінка 11
Переглянути онлайн або завантажити pdf Інструкція з монтажу Посібник з монтажу для Снігоочисник Douglas Dynamics SnowEx Automatixx SPEEDWING 8600. Douglas Dynamics SnowEx Automatixx SPEEDWING 8600 17 сторінок.

OPERATIONAL TEST AND FINAL ADJUSTMENTS
BLADE DROP SPEED ADJUSTMENT
WARNING
Keep 8' clear of the blade when it is being
raised, lowered or angled. Do not stand
between vehicle and blade or directly in front
of the blade. If the blade hits or drops on you,
you could be seriously injured.
The quill in the valve manifold adjusts the blade drop
speed.
1. Lower the blade to the ground before making any
adjustment.
2. On the hydraulic unit, remove the cover.
3. Turn the quill IN (clockwise) to decrease drop
speed. Turn the quill OUT (counterclockwise) to
increase drop speed.
Quill
4. Stand 8 feet clear of the blade when checking
adjustment.
5. Replace the cover.
Lit. No. 52308, Rev. 06
FINAL INSPECTION AND ADJUSTMENT
Keep 8' clear of the blade when it is being
raised, lowered or angled. Do not stand
between vehicle and blade or directly in front
of the blade. If the blade hits or drops on you,
you could be seriously injured.
1. Check that the trip springs are adjusted correctly
by confi rming that the coils of the springs are
separated slightly.
Overtightening of the springs will increase
the blade trip force and cause damage to the
springs and plow assembly.
2. Adjust the trip springs by tightening the top nuts
until the coils of the springs begin to separate
(a piece of paper such as this instruction sheet
should pass between the second and third coils).
3. Fully angle the blade in both directions in raised
and lowered positions. Adjust hose fi ttings, wraps,
and clamps so hoses do not contact vehicle
bumper, have no sharp bends and are wrapped at
contact points with, and do not become pinched
between the headgear and A-frame.
4. Add grease to the two hitch pins and stand
actuator pin.
Use a good quality multipurpose grease.
11
WARNING
CAUTION
May 1, 2021
