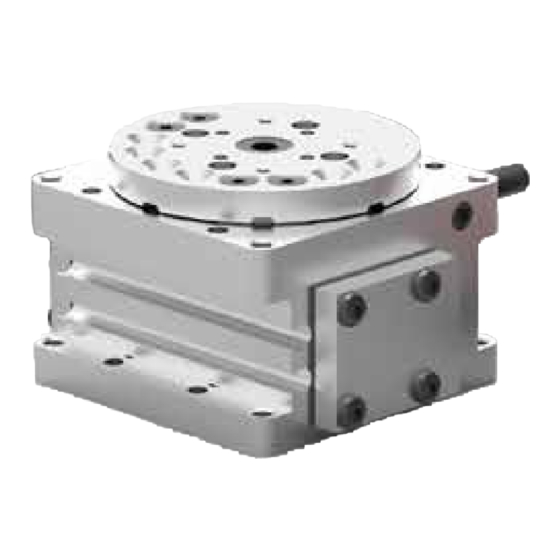
Dover DESTACO Automating Tomorrow ROBOHAND DRF Series Посібник з експлуатації - Сторінка 2
Переглянути онлайн або завантажити pdf Посібник з експлуатації для Контролер Dover DESTACO Automating Tomorrow ROBOHAND DRF Series. Dover DESTACO Automating Tomorrow ROBOHAND DRF Series 4 сторінки.

3.1-3.45 (RR_DRM) RED.qxd
DRF Series
DRF SERIES EXPLODED VIEW
Rotary Actuators | Maintenance and Assembly Procedure
18
3
3.56
6
15
Assembly Procedure
1) Press the Upper Bearing #4 onto the Pinion #2.
2) Install the Bearing Retainer #8 onto the Pinion #2 and press the Hub
#9 onto the pinion: install the Stop Puck #10 onto the Hub with the
stop puck Screws #23.
3) Assemble the Rack #6 to the Piston #7 with Roll Pins #19.
4) Grease the U-Cups #13 and install them onto the Piston #7.
5) Press the Magnet #14 into the Piston #7.
6) Assemble the Bumper #12, Washers #15 and Bumper Screw #16
onto the Piston #7.
7) Lubricate the Body #1 bore and install the Piston Assembly into
the body.
8) Press the Lower Bearing #5 into the Body #1.
9) Locate the Piston assembly so it is aligned with an outer edge
of the body.
Seal Kit
Items
For more information call us at: 1-800-ROBOHAND or 203-261-5558 Fax: 203-452-7418 Visit us on the Internet at: www.destaco.com
2/7/06
1:13 PM
Page 56
23
11
12
10
13
14
7
19
16
20
21
5
24
-A Option Shown
Shock Absorbers
26
Thread
Krytox
™
Locker
Lubricant
116
9
8
17
4
2
1
22
25
10) Lubricate the Pinion assembly and align the key with the same edge
of the Body as the Piston and Press the Pinion into the Body.
11) Rotate the Hub Assembly through the full travels and insure that the
Piston is correctly located in the Body, adjust the travel of the Piston
if necessary.
12) Grease the Gasket #11 and install the End Plate #3 onto
the Body #1.
13) Install the 2 Orifices #20 into the Body #1 screw them in until they
bottom.
14) Install the Bearing Retainer Screws #17.
-A Option Assembly Procedure:
1) Install the Shock Absorber #25 in to the Shock Blocks #24, use
Teflon
tape to seal and tighten the lock nut if shock comes with one.
®
2) Screw the Shock Block onto the Body using the
Mounting Screws #26.
Lightweight
Teflon
Based
™
Machine Oil
Grease
Dimensions and technical information are subject to change without notice
Item Qty
Name
01
1
Body
02
1
Pinion Shaft
03
2
End Plates
04
1
Upper Bearing
05
1
Lower Bearing
06
1
Rack
07
1
Piston
08
1
Bearing Retainer
09
1
Hub
10*
1
Stop Puck
11
2
Gaskets
12
2
Urethane Bumpers
13
2
U-cups
14
1
Magnet
15
2
Bumper Washers
16
2
Bumper Screws
17
4
Retainer Screws
18
8
End Plate Screws
19
2
Roll Pins
20*
2
Fixed Orifices
21
2
Stop Screws
22
2
Stop Screw Locking Screws
23
2
Stop Puck Screws
24
2
Shock Block
25
2
Shocks
26
8
Shock Block Mounting
Screws
*NOTES:
1) Contact the Robohand Sales Department
for a complete spare parts list with order
numbers and prices.
2) Item #10 Quantity 1 for 180° rotations,
all other rotations Quantity 2
3) Item #20 not in size -131
Super
Third Angle
Bonder
Projection
