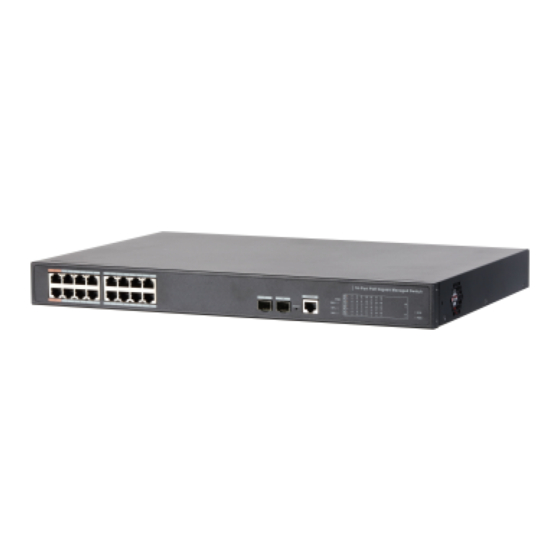
Dahua DH-PFS4218-16GT-190 Посібник із швидкого старту - Сторінка 15
Переглянути онлайн або завантажити pdf Посібник із швидкого старту для Перемикач Dahua DH-PFS4218-16GT-190. Dahua DH-PFS4218-16GT-190 19 сторінок. 16/24-port poe gigabit managed switch

We will introduce VLAN configuration briefly in this section. See the corresponding command
line manual for detailed configuration.
4.1
First Login by Console Port
Login by console port is the most basic way to log in the local interface, and it is also the
method to configure other ways to log in the device.
Step 1
Power off the PC.
Step 2
Connect the PC and the device with the default console port cable. Insert the DB-9
(hole) plug of console port cable into the 9-pin serial port of PC, and then insert the
RJ-45 plug into the console port of the device.
Check the mark on the port before you insert the plug and make sure you insert
the plug into the correct port.
Plug out RJ-45 first and then DB-9 when dismantling console port cable.
Step 3
Power on the PC.
Step 4
Run terminal simulation program on the PC. Select the serial port connected with the
device, and configure the terminal communication parameters. The parameter values
should match with the values of the device. By default:
Baud rate:115200
Data bit: 8
Stop bit: 1
Parity: none
Flow control: none
If the PC adopts Windows Server 2003 operating system, add the super terminal
program in the Windows component and then login and manage the device according
to this Guide. If the PC adopts Windows Server 2008, Windows Vista, Windows 7, or
other operating systems, use the third-party terminal control software and refer to the
software operation guide or online help for operation method.
Step 5
Power on the device, and the device self-check information is displayed on the terminal.
There will be the prompt for you to press Enter key after device self-check. And you can
enter the user name and password.
Step 6
Enter the user name, and then press Enter key.
4
Figure 4-1
Connection with console port cable
Quick Operation
Quick Operation 9
