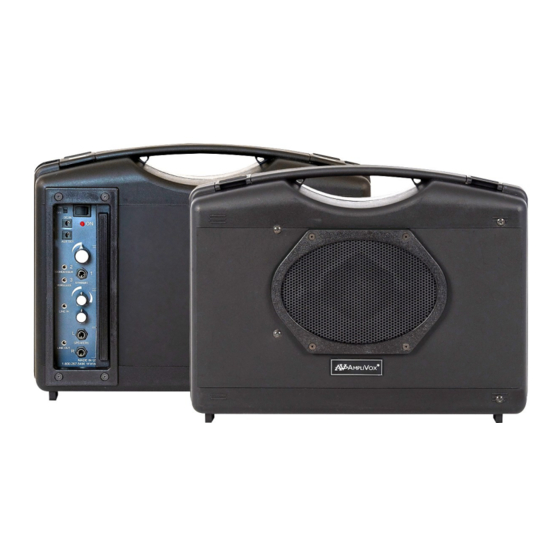
AmpliVox SW222A Посібник користувача - Сторінка 4
Переглянути онлайн або завантажити pdf Посібник користувача для Спікери AmpliVox SW222A. AmpliVox SW222A 8 сторінок. 50 watt portable pa system with

INSTALL BATTERIES
Battery Power
1. The amp uses 10 " D " size Alkaline batteries
or the optional rechargeable AmpliVox
included);
NiCad Battery Pack (S1465) and (S1460) AC adapter -
purchase separately (Fig 3).
2. Open case and locate battery holder (Fig 1).
3. Lift the battery holder out (Fig 2).
4. Install 10 fresh Alkaline " D" size batteries. Be sure to
observe the polarity when putting batteries in the
battery compartment. The negative (flat) ends go
against the springs. Carefully replace battery holder.
DO NOT MIX BATTERY TYPES OR ATTEMPT TO RE-
CHARGE ALKALINE BATTERIES. EQUIPMENT DAM-
AGE, SAFETY HAZARD OR FIRE COULD RESULT.
Note: The battery holder cable comes from the factory
already plugged into the connector. If it comes
loose, push it in securely. (Turn the plug over if it
doesn't fit; it only fits one way.)
5. Close case.
6. If using the S-1465 NiCad Battery pack
(Fig 3), and S1460 AC Adapter/ Recharger
power supply (both sold separately), plug
into the " DC IN" jack on front panel of the
amp. Plug into a working electrical outlet.
Charge 24 hours for full charge before using.
Wireless Headphone/Lapel Bodypack
Transmitter for Model SW222A / SW224A
Battery: The wireless headphone transmitter
bodypack (S1690T) is operated by 1 - "AA" alkaline bat-
tery. Before use, install battery as shown (Fig. 4). Make
certain the battery is fully seated in its compartment so
the cover slides in place easily. Battery life with alkaline
batteries is approximately 8 hours of operating time.
When LED on top panel turns to RED the battery should
be replaced immediately.
Plug the Lapel / Headset microphone into the Mic Input
Jack (C). The Lapel microphone can be clipped to a
necktie/shirt/blouse, using the supplied clip. The lapel
mic should be placed under the chin, as close to the
center of the body as possible
Select Channel Number (see features16 & 17)
To turn on transmitter, slide the 3 position switch (ON /
MUTE / OFF) (B) to the ON position (the LED indicator
light will illuminate green). Replace batteries when this
LED turns red.
When wireless power switch (15) on control panel is
turned on, the RF LED located next to the channel selec-
tor (16) will light, meaning that it is receiving signal. If RF
LED does not light, check channel numbers to make
sure that they are on the same number.
When the RF LED is on, speak into microphone and
rotate "VOLUME" control knob to obtain desired loud-
ness level.
GAIN SWITCH (B): If you are a soft spoken person
then set the switch to the 10 dB position. If you are a
loud speaking person then set the switch to the -10 dB
position. Adjust to prevent distortion while speaking.
4
(not
1-800-572-2194 • DISPLAYS2GO.COM
Fig 1
Fig 2
Fig 3
S-1465
Fig 4
A
S-1460
B
C
