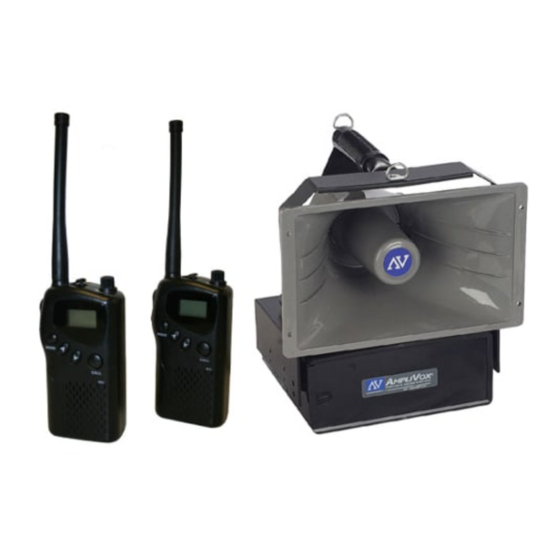
AmpliVox SW6210 Посібник користувача - Сторінка 7
Переглянути онлайн або завантажити pdf Посібник користувача для Спікери AmpliVox SW6210. AmpliVox SW6210 9 сторінок. Radio hailer wireless pa system
OPTIONAL WIRELESS HANDHELD MICROPHONE—MODEL SW615A
PROBLEM SOLVING
HOWLBACK/FEEDBACK is the loud squeal or screech often heard in sound reinforcement systems. It is caused by sound from
the loudspeaker returning to the microphone. AmpliVox systems utilize proven acoustical principles to minimize this; however,
there is no way to completely eliminate feedback under conditions of high amplification. If feedback occurs, check the following:
User's hand covering the head of the microphone (Hold microphone under head slots); Sound can easily re-enter microphone.
Keep loudspeaker turned toward audience. Note: Sound can be reflected from a hard surface back through the microphone (Turn
speaker); User holding microphone in a reflecting position (Turn microphone); Volume setting too high (Reduce microphone
channel volume; compensate by speaking louder or closer to the microphone).
NO SOUND
Make sure amplifier POWER switch is turned on and red LED is lit. If switch is on and LED is not lit, check to see that batteries are
properly connected and at full charge. If using optional power adapter, check to see that front panel connector is properly seated,
and verify that the power source is live.
Functions
1) Interchangeable Microphone Head
2) LCD Screen (see below)
3) Power / Mute Control Switch (see below)
4) Select Button (see below)
5) Microphone Input Sensitivity Adjustment—is used to set the gain of
microphone. If you are a soft talking speaker you will need to turn the control
counter clockwise. Turn clockwise if you are a loud talker. Use plastic screw-
driver that is supplied.
Microphone Operation and Status Display
TURN ON MICROPHONE: Push and hold the "POWER/MUTE" (3) button until LCD
screen lights up.
TO MUTE: Press "POWER/MUTE" button twice to MUTE. Channel number will flash
when muted. Press button again twice to remove "MUTE".
TURN OFF MICROPHONE: Push and hold the "POWER/MUTE" (3) button for 2 se-
conds to turn microphone "OFF".
SELECT CHANNEL: Press and hold the "SELECT" (4) button for 2 seconds until you
only see the word Channel and channel number. To change channel, when flashing,
press the "SELECT" (4) button until you reach the desired channel. Flashing will stop
after 10 seconds and channel is now set.
LOCK / UNLOCK CHANNEL: Push the "POWER/MUTE" (3) button and "SELECT"
button at the same time to lock or unlock channel. When locked, channel cannot be
changed. "LOCKED" symbol appears in upper left-hand corner.
BATTERIES
1. Hold the body of microphone in hand and twist off bottom section of microphone.
2. Insert two "AA" batteries.
3. Twist bottom section back on to microphone.
BATTERY STATUS
The life expectancy of the two batteries is about 10 hours.
When the "BATTERY" symbol on the display screen keeps flashing the batteries
should be replaced immediately.
7