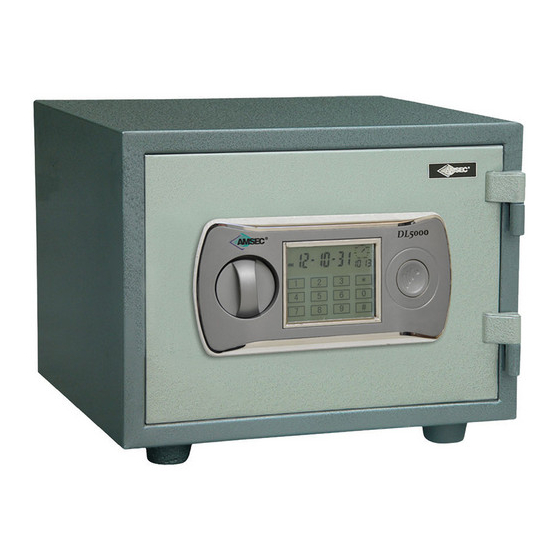
AMSEC DL5000 Посібник
Переглянути онлайн або завантажити pdf Посібник для Сейфи AMSEC DL5000. AMSEC DL5000 3 сторінки.

Each AMSEC safe is professionally hand-crafted with quality materials and is equipped with a precision-quality, digital
lock. To become familiar with the lock, operate the lock (as outlined below) several times before closing the door and
locking the safe.
OPERATION INSTRUCTIONS:
•
Don't slam the door. Extreme shock can damage the lock or jam the boltwork.
•
Don't shut the door with the boltwork in the locked position. Damage to the boltwork and marring the safe's
finish may result.
•
Don't stack contents of the safe so that the door must be forced shut. Jamming of the boltwork may result.
•
Don't store the combination card inside the safe.
•
Don't use oil, grease or any other lubricant on the digital lock.
•
Keep all moving parts clean and free from obstruction, water and grease.
•
If you experience a difference in the feel of the operation, inconsistency or difficulty opening or operating the
safe, DO NOT LOCK THE SAFE. Immediately contact the security store from whom you purchased the safe. If this is
not practical, contact the AMSEC service department at 951-685-9680, Ext. 1036.
DL5000 LOCK FEATURES
Low Battery Indicator
Keypad
Turn Knob
KEEP THE EXTERNAL BATTERY BOX IN A SAFE PLACE - BUT NOT IN THE SAFE!
INITIAL SETUP
Install four (4) AA batteries into the power override box and plug connector into the jack on the bottom, right-hand edge of the
safe's LCD screen. When connected, you will hear several confirmation tones followed by a 'melody' as the safe initializes, followed
by an 'All Ready' word prompt once this is complete. At this point the LCD display should show:
Battery Indicator, Year/Month/Day, Week and Time.
Press #1234# (personal code) or #123456# (administrator code) to unlock safe (the # key awakens the screen from 'sleep' mode).
Upon entering the code successfully the LCD screen will turn blue and display "OPEN." You will now have 5 seconds to turn Knob
to open safe door before the action times out and relocks. If this happens re-enter either of the above codes, remembering to
turn the knob within 5 seconds.
Before proceeding any further, disconnect breakout box from the front of safe and either remove the batteries from the breakout
box to be used in the battery box on the inside of the safe's door, or, alternatively, use 4 additional AA batteries. Once the
breakout box is disconnected and the new batteries are in place, power-up sequence will be repeated.
SETTING THE DATE
The time, date, etc., can all be set regardless of whether the safe's door is open or closed. The date format for the safe is MONTH/
DAY/YEAR. To set the date, first press * and then press 0 to descend or 8 to ascend. You will have 6 seconds to make an entry
between fields or the operation will be canceled. If this happens press the * key to again enter time/date mode, skipping to the
last field of entry using the #. Once the desired year value is reached, press the # to move to the next field, again using 0 or 8 to
reach the desired month, day and so on.
LCD Display
Emergency Override
External Battery Plug
EXTERNAL BATTERY BOX
Operating Your Safe
LOCATION OF BATTERY COMPARTMENT AND RESET BUTTON
Time Display
LOCATION OF BATTERY COMPARTMENT AND RESET BUTTON
Key Hole
- IMPORTED RESIDENTIAL FIRE SAFES
Internal Battery
Reset Button/Combination
Compartment
- ELECTRONIC SECURITY SAFES
Reset Button/Combination
Protected by Lift-Off Cap
Internal Battery Compartment
