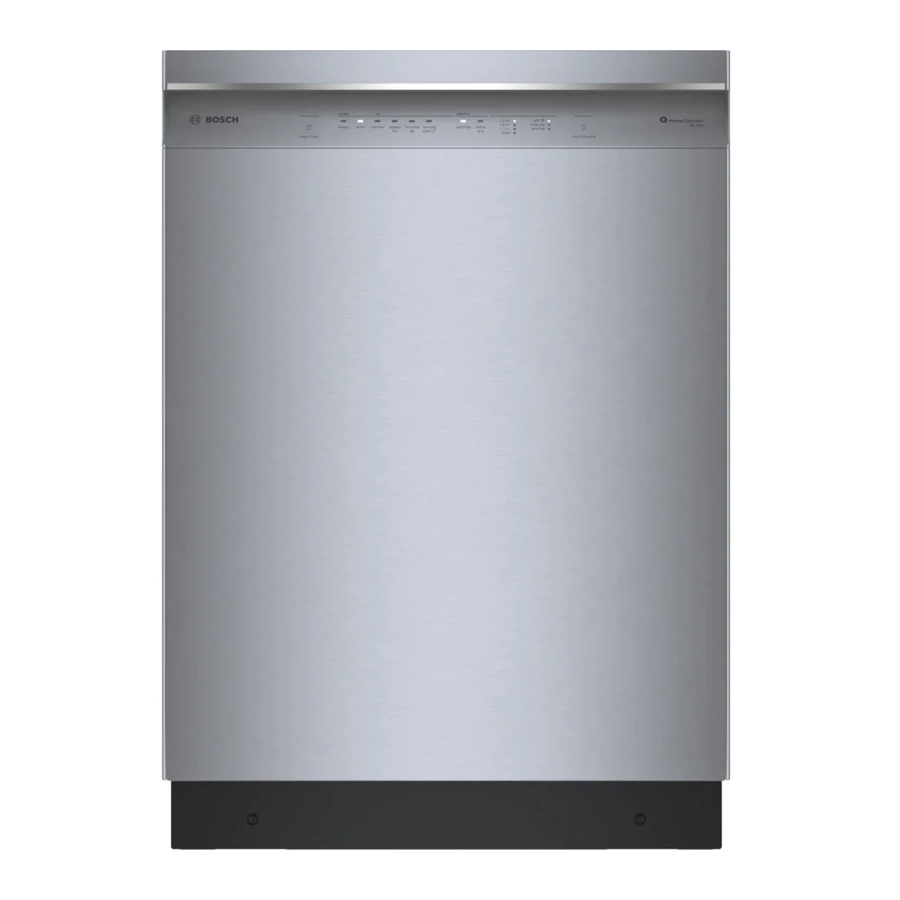
START YOUR DISHWASHER
Press the On/Off button.
1.
Select a cycle and option if desired.
2.
Press Start.
3.
ADD RINSE AID
This dishwasher is designed to be used
with rinse aid, which enhances drying
results and shine.
• Add rinse aid before first use and when
the Add Rinse Aid indicator light on the
control panel illuminates.
• Lift tab to open the rinse aid reservoir
and add liquid rinse aid into the oval
until it is full, avoiding air vent. Wipe up
any excess rinse aid that may puddle.
Tip: Remove lid of rinse aid bottle for easier pouring.
The amount of rinse aid dispensed can be set in 6 levels. Only change the
setting if streaks remain on the dishes (lower the amount), or if dishes are not
getting dry enough (increase the amount).
Setting
Factory setting Description
š-Intensive drying
š:‹‹/ off
š:‹‹-š:‹‚
§-Rinse Aid
§:‹†
§:‹†-§:‹‡
›-Beep at cycle
›:‹ƒ
end
›:‹‹-›:‹„
‚ -Infolight®
‚:‹‚ / on
‚:‹‹-‚:‹‚
˜-Auto power off
˜:‹‹/ unit does
not shut off
˜:‹‹-˜:‹ƒ
automatically
ADJUSTING THE SETTINGS
Press the On/Off button. Hold down button A (see pages 6-7) and press
1.
Start until the display shows š:‹
Release both buttons. The LED for the button A flashes and the digital
2.
display shows the factory set value. Press A to choose the setting.
Press buttons B or C (up or down) to change the setting.
3.
Press Start button to save the setting.
4.
8
air
vent
Improved drying for glasses and
plastic, by increasing the tempera-
ture and length.
Dispenses the amount of rinse aid,
which affects drying (see above).
Adjust the sound level of the signal
beep at the end of the cycle. Or turn
off (›:‹‹).
Light projected on the floor to signal
active wash cycle. Set to on or off.
Unit turns itself off after cycle is com-
plete, either after 1 minute, ˜:‹‚ or
after 2 hours, ˜:‹ƒ .
x (x can be any number).
MAINTENANCE TIPS
Clean surfaces with damp cloth and mild soap.
NOTICE: Do not use abrasives or bleach based cleaners. Do not use stainless
steel cleaner on black stainless or anti-finger print surfaces.
Clean the filter 3-12 times a year, depending on usage.
Unscrew the Large Object Trap as illustrated and remove the entire filter
1.
system.
Remove the micro-filter from the fine filter, rinse the filters under running
2.
water clean with a soft brush.
Reinstall the filter system in reverse sequence, align arrows.
3.
max
FREQUENTLY ASKED QUESTIONS
Q
Why is food left on dishes?
:
A
It is possible the dishes do not have adequate clearance between them.
:
Also, be sure nothing is blocking spray arm and that the filter is clean. Select an
intensive cleaning cycle.
Q
Why does the cycle run a long time?
:
A
:
1. Sensors in the dishwasher automatically increase the cycle time to ensure a
good wash when heavy soil is detected.
2. Incoming water may not be hot enough and dishwasher has to heat it.
Q
Why is E:XX (X can be any number) displayed?
:
A
This is an error code. For example, E:22 indicates there is water in the sump
:
because the filter is blocked or needs cleaning. See the Use and Care Manual
for a list of error codes.
To access the full Use and Care Manual, go to:
www.bosch-home.com/us/service/get-support/owner-manuals.
2
1
9

