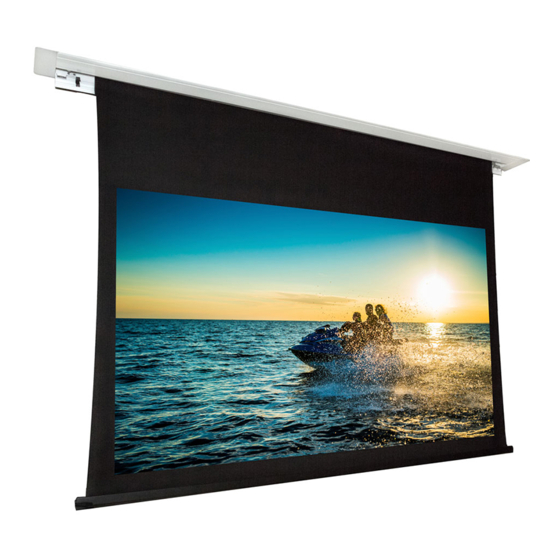
Dragonfly DFRM-TAB-100-HC Посібник з інсталяції - Сторінка 3
Переглянути онлайн або завантажити pdf Посібник з інсталяції для Проекційний екран Dragonfly DFRM-TAB-100-HC. Dragonfly DFRM-TAB-100-HC 9 сторінок. Recessed in-ceiling motorized projection screen
Також для Dragonfly DFRM-TAB-100-HC: Посібник з монтажу (17 сторінок)

Installation
Caution: Make sure the ceiling structure can support the screen's weight. Screen weights are
listed in "Assembled Weights" on page 14.
Note:
The screen cannot be removed from the housing.
Step 1. Determine the Mounting Method
Z Brackets
• Z Brackets: Used for all installations with new or existing permanent ceilings and when there is no
access above the screen housing such as an attic or a crawl space.
• Flat Brackets: Used for installations with new ceiling and access above the screen at all times,
such as a commercial tile ceiling, an attic, or a crawl space.
Step 2. Prepare the Ceiling Opening
Screen Housing Cutout
Use the chart to determine the opening size for the housing, then cut the ceiling surface.
Type & Size
Length (A)
Width (B)
TAB-100"
113.51"
7.25"
TAB-110"
122.21"
7.25"
TAB-120"
130.91"
7.25"
TAB-130"
139.65"
7.25"
NTT-100"
104.06"
7.25"
NTT-110"
112.76"
7.25"
NTT-120"
121.46"
7.25"
NTT-130"
130.20"
7.25"
Height Clearance (C)
Dimensions measured from bottom of ceiling surface to top of screen housing including the height of
mounting bracket and hardware.
7.0"
4
Flat Brackets
A
C
B
7.25"
Step 3. Install the Mounting Brackets
The mounting brackets are secured using hardware that slots into the
rails on top of the housing. Slide the bolts into the rail, position the
brackets over the bolts, and tighten the nuts onto the bolts.
Z Bracket Suspended Mounting
Install the brackets facing down for threaded rod/
suspended mounting or up for direct ceiling
mounting.
Z Bracket Direct to the Ceiling
Install the brackets facing up when mounting directly to the ceiling. Position the
bend in the bracket flush with the edge of the screen housing.
Straight Bracket Installation
Install the brackets a minimum distance apart to prevent instability after hanging the screen housing.
The brackets may be positioned off-centered as needed to fit the ceiling structure.
Size
Minimum Bracket Separation
100"
74"
110"
80"
120"
85"
130"
90"
5
