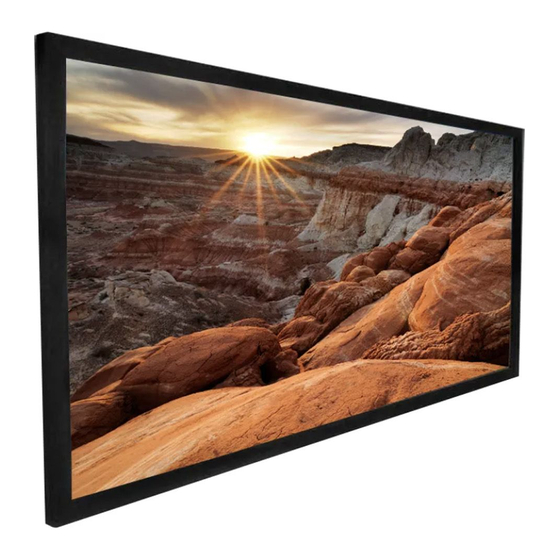
Dragonfly Ultra Acoustiweave Посібник з монтажу - Сторінка 3
Переглянути онлайн або завантажити pdf Посібник з монтажу для Проекційний екран Dragonfly Ultra Acoustiweave. Dragonfly Ultra Acoustiweave 8 сторінок. Thin-bezel fixed projection screens

Fixed Projection Screen Manual
Step 1. Unpack the Screen
Lay out all parts on a clean, flat surface. To prevent damage, do not unpack the screen material at this time.
NOTE: Quantities below may be greater than needed for assembly.
Package Contents
Screen Frame & Frame Bezels
(2 short, 2 long each)
Protective Sheet
(1)
Sliding Nuts [installed]
(14)
Gloves (2 Pair)
Step 2. Prepare Frame Sections for Assembly
A. Retention springs are pre-assembled. Please confirm
based on quantity noted on frame label and in the
manual below for the short and long frame sections
and count all prior to install. Any extras needed are
in the hardware pack.
Qty. of Pre-assembly Springs
Screen Size
Each Long Side
Each Short Side
i.
The hook on the spring must be on the groove
closest to the inside frame edge.
B. Sliding nuts are pre-installed into frames, 14 total. Sliding nuts are used to install the thin bezel caps, and
wall brackets. Please ensure all 14 sliding nuts are on the frames prior to installing and tightening the
corner brackets.
C. Install the corner brackets to the top and bottom slots of the short frame sections. All corner brackets are
the same size and interchangeable.
© 2018 Dragonfly
Corner Brackets
(8)
Spring Tool (2)
Material Springs
[installed]
*Extra Springs included in the
hardware pack (4)
Mounting Brackets (2)
Magnets (2)
92˝ 100˝
106˝ 110˝ 120˝
12
12
14
14
7
7
8
8
Screen
Material (1)
M5x50mm Phillips
Head Screws (6)
Thin Bezel Frame
Brackets (10)
M5x8mm Mounting
Screws (4)
14
9
3
Tension Rods
(2 short, 2 long each)
Concrete
Anchors (6)
M5x6mm Corner
Screws (46)
M5x8mm Magnet
Mounting Screws (4)
181015-1400
