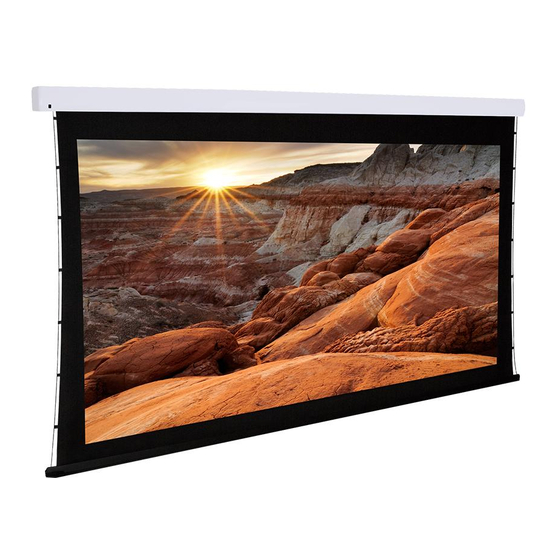
Dragonfly DFM-TAB-92 Посібник користувача - Сторінка 4
Переглянути онлайн або завантажити pdf Посібник користувача для Моторизований екран Dragonfly DFM-TAB-92. Dragonfly DFM-TAB-92 8 сторінок. Dfm-tab screens
Також для Dragonfly DFM-TAB-92: Посібник з монтажу (17 сторінок)

Installing the bracket on the wall or ceiling:
1. According to the surface of installation, choose the appropriate screws needed for mounting (Use Mounting Screws for wood surfaces, use
Mounting Screws and Concrete Anchors for concrete surfaces)
2. Mount the brackets onto the surface, ensuring they are level.
(Tip: draw an erasable
level line when mounting
the brackets)
• Wall and Ceiling Installation, Drywall:
Drill in the Mounting Screws (B) through
the appropriate holes in the bracket
• Wall and Ceiling Installation, Concrete:
Install the anchors (C) and drill the
Mounting Screws (B) through the
appropriate holes in the bracket
3. Loosen the Locking Screw to lower
the Locking Piece down all the way.
4. When mounting the screen onto the Floating Mount Brackets, ensure the grooves on the screen casing match up with the upper
and lower grooves on the brackets. To attach casing, simply slide on to the bracket's grooves and they will hold the casing in place
(See below). Horizontal adjustments can still be made.
Upper Groove
Lower Groove
4
Drywall/ Stud Installation
Concrete Wall Installation
UP
Ceiling Joist Installation
Concrete Ceiling Installation
OVER
DOWN
