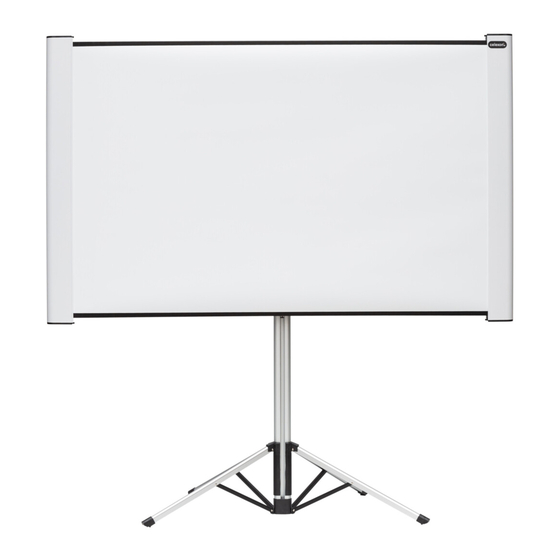
Draper Access MultiView Інструкція з монтажу та експлуатації - Сторінка 3
Переглянути онлайн або завантажити pdf Інструкція з монтажу та експлуатації для Проекційний екран Draper Access MultiView. Draper Access MultiView 4 сторінки.

Access MultiView Installation/Operating In struc tions
Adjustments (Screen Motor)
Screen has been factory set and should not normally require further adjust-
ment. However, if you desire to change the "up" and "down" stopping positions,
proceed as follows:
CAUTION: Be sure all switches are in "off" position before adjusting limit
switches. Always be prepared to shut screen off manually when new adjust-
ment is being tested. Screen may be severely damaged if surface is allowed
to run too far up or too far down.
"DOWN" LIMIT SWITCH—Down stopping position can be adjusted by turn-
ing the white socket (located on the motor end of screen roller). Turning the
socket coun ter clock wise will allow the roller to run farther down. Turning it
clockwise will shorten op er a tion, causing it to stop sooner. One full revolu-
tion of the socket will alter the stopping position of the viewing surface by
approximately 1
1
/
".
4
"UP" LIMIT SWITCH—Up stopping position can be adjusted by turning the
yellow socket (located on motor end of screen). Turning the socket coun ter -
clock wise will allow the roller to run farther up. Turning it clockwise will cause
the roller to stop sooner. One full revolution of the socket will alter the stopping
position of the viewing surface by approximately 1
AT NO TIME SHOULD SURFACE BE UNROLLED ENOUGH TO EXPOSE
ANY PART OF SCREEN ROLLER.
VIC115 (115 VAC, white cord & plug)
VIC12 (12 VDC, brown & orange leads)
1
/
".
4
Wiring Diagrams for Optional Built-in Controls
Built-in Low Voltage Control
Junction box at
left end of screen
N
110v AC supply
L1
Dashed wiring
by electrician
Built-in Video Interface Control
Junction box at
left end of screen
N
110v AC supply
L1
Trigger signal
www.draperinc.com
Adjustments (Masking Motor)
Screen has been factory set and should not normally require further adjust-
ment. However, if you desire to change the "up" and "down" stopping positions,
proceed as follows:
CAUTION: Be sure all switches are in "off" position before adjusting limit
switches. Always be prepared to shut screen off manually when new adjust-
ment is being tested. Screen may be severely damaged if surface is allowed
to run too far up or too far down.
"DOWN" LIMIT SWITCH—Down stopping position can be adjusted by turning
knob #2 (on motor end of masking roller). Turning the knob counterclockwise
will allow the roller to run farther down. Turning it clockwise will shorten opera-
tion, causing it to stop sooner.
"UP" LIMIT SWITCH—Up stopping position can be adjusted by turning knob
#1 (on the motor end of masking roller). Turning the knob counterclockwise
will allow the roller to run farther up. Turning it clockwise will cause the roller to
stop sooner.
Internal screen wiring
White (Neutral)
Black (Hot)
Green (Ground)
Internal screen wiring
Dashed wiring
by electrician
(765) 987-7999
page 3 of 4
White (Neutral)
Black (Hot)
Green (Ground)
