Bosch 800 Series Посібник із швидкого запуску та техніки безпеки - Сторінка 4

Переглянути онлайн або завантажити pdf Посібник із швидкого запуску та техніки безпеки для Духовка. Bosch 800 Series. Bosch 800 Series 13 сторінок. Built-in wall ovens
Також для Bosch 800 Series: Інструкція з монтажу Посібник з монтажу (24 сторінок), Посібник з монтажу (40 сторінок), Інструкція з використання та догляду (12 сторінок), Посібник з монтажу (23 сторінок), Посібник з монтажу (28 сторінок), Посібник з монтажу (32 сторінок), Інструкція з експлуатації (32 сторінок), Посібник з монтажу (32 сторінок), Посібник із швидкого запуску та техніки безпеки (7 сторінок), Інструкція з використання та догляду (40 сторінок), Посібник з монтажу (40 сторінок), Посібник з монтажу (32 сторінок), Інструкція з монтажу Посібник з монтажу (40 сторінок), Посібник з монтажу (48 сторінок), Інструкція з використання та догляду (33 сторінок), Інструкція з використання та догляду (49 сторінок), Посібник із швидкого старту (7 сторінок), Посібник з монтажу (32 сторінок), Посібник з експлуатації (36 сторінок), Інструкція з монтажу Посібник з монтажу (29 сторінок), Інструкція з використання та догляду (24 сторінок), Інструкція з використання та догляду (40 сторінок), Інструкція з монтажу Посібник з монтажу (28 сторінок)
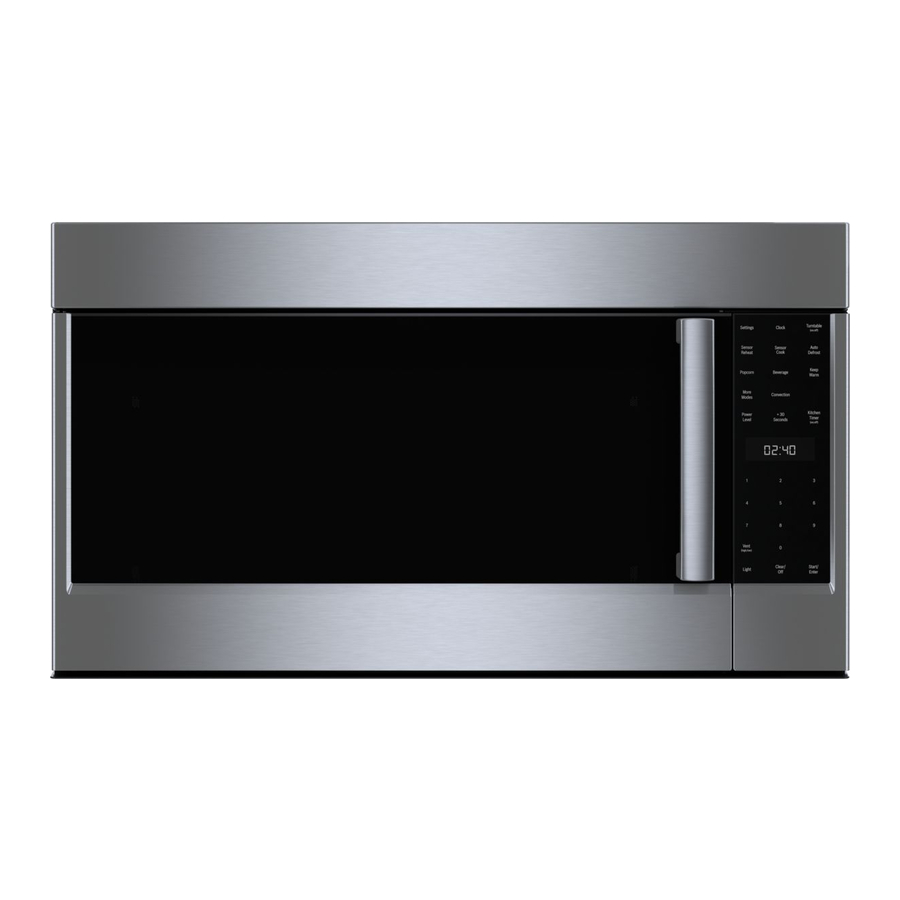
Bosch 800 Series Посібник із швидкого запуску та техніки безпеки
Download the Home Connect
and Care Manual or visit: www.bosch-home.com/us/service/
get-support/owner-manuals. Type in the Model Number
which begins with 'S' and can be found inside the dish-
washer door:

2 Getting started

Tip: Connect your appliance to the Home Connect
can conveniently adjust the settings and download additional
cycles and options with the app.
2.1 Add Detergent
Use detergent tabs, fresh powdered detergent or liquid de-
tergent. For quick cycles, use powdered or liquid detergent
instead of tabs.
Tip: The dispenser lid should slide closed easily.
To close the cover, push until it clicks.
CLICK
2.2 Add rinse aid
This dishwasher is designed to be used with rinse aid, which
enhances drying results and shine.
Tip: Remove lid of the bottle for easier pouring and avoid
the air vent.
NOTICE: The amount of rinse aid dispensed can be adjusted
in the settings. Only change the setting if streaks remain on
the dishes (lower the amount), or if dishes are not getting dry
enough (increase the amount).
max
air
vent
2.3 Start your dishwasher
1. Press the On/Off button with a short 1 second press.
2. Select a cycle and option if desired.
3. Press Start.
Note: All buttons have 'Touch' control and require only a
short gentle touch.
®
app to access the full Use
app. You
®
3 Tbsp. max.
1.75 Tbsp. (25 ml)
1 Tbsp. (15 ml)
Important: After pressing Start, the door must be shut within
4 seconds, otherwise the operation will be paused. If the door
is open for more than 4 seconds, or there is any other cycle
interruption, press the Start button again. This is to protect
against unintentional operation, e.g. by children.
3 Tips
3.1 Loading tips
Scan the code with your smart phone to watch the video
on the best practices for loading dishes and avoiding some
common mistakes.
Scan here for
loading tips
!
WARNING
Load sharp items (knives, skewers, etc.) pointing down.
Failure to do so may result in injury.
To avoid risk of injury, always use caution when opening
the door during or following a wash cycle as hot water or
steam may escape. Do not fully open the door until water
noises have stopped and steam has subsided.
3.2 Maintenance tips
1. Clean surfaces with damp cloth and mild soap.
NOTICE: Do not use abrasives or bleach based cleaners.
Do not use stainless steel cleaner on black stainless or
anti-finger print surfaces.
2. Clean the filter 3-12 times a year, depending on usage.
Scan here for
how to clean
the filter
3. It is also recommended to run Machine Care program
to keep the tub clean. It is accessible through the Home
Connect
®
app.
3.2 Usage tips
1. Use rinse aid.
2. Scrape food off, do not rinse.
3. Using the Rackmatic
®
, adjust
height of the upper rack for
large items by pushing in on
the side levers.
Scan here for
how to clean
the spray arms